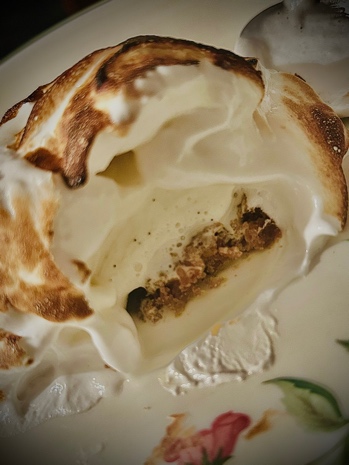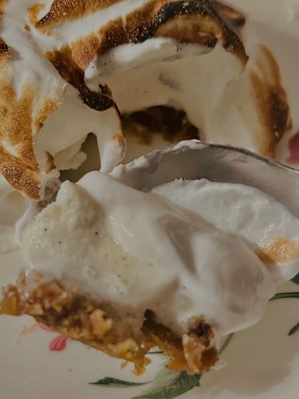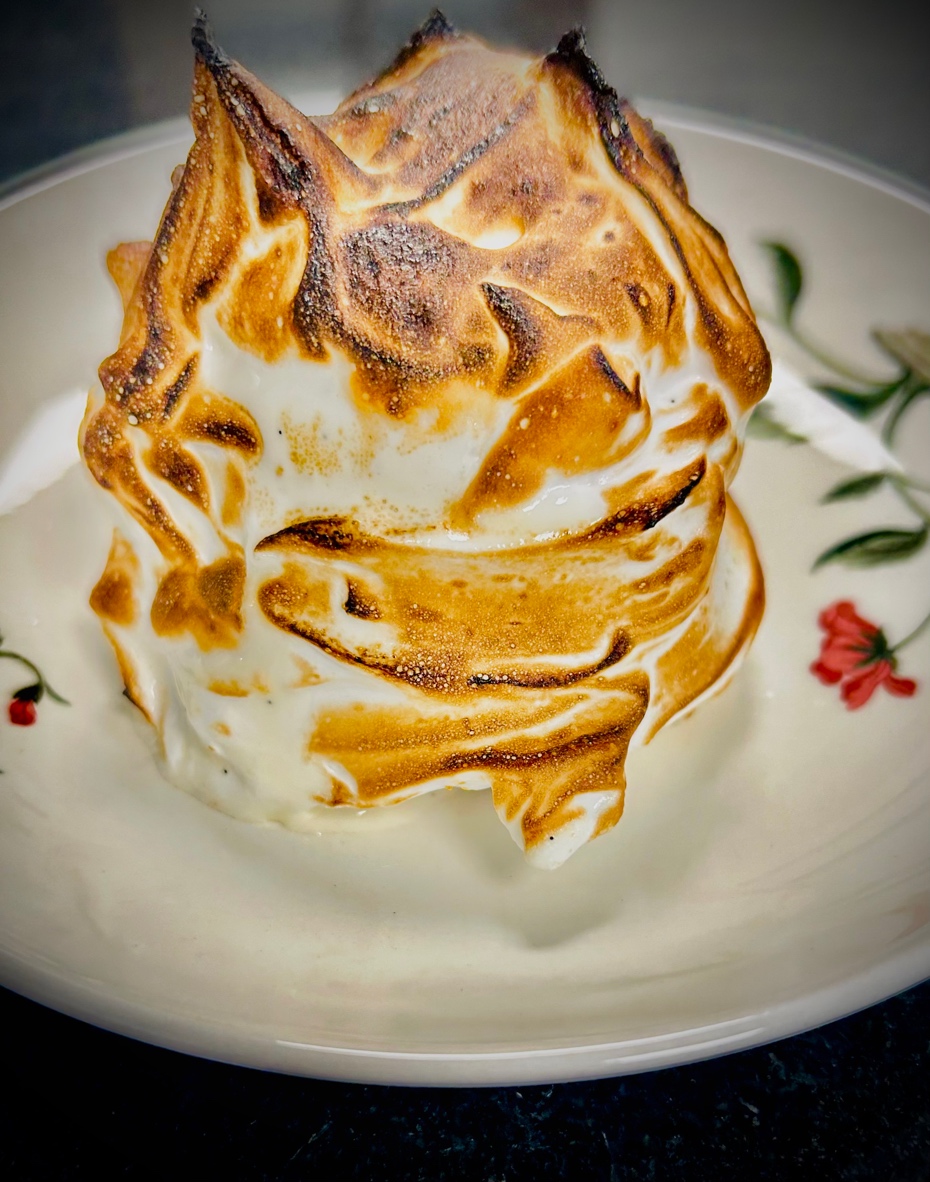
Well, just because I love this dessert, and truth be told, had never made it before I decided to test it out last week, solely for the purpose of presenting you with a user friendly formula …
… Now I am certainly not going to suggest that you make your own cake and ice-cream, but instead I will tell you exactly which ones to buy and where to buy them! I almost wish I could add an emoji to this text, since I find myself smiling widely with delight as I write this …
… for those who don’t already know, this dessert is made with a base of cake, filling of ice cream and cover of meringue. If you wish to know more about it, do look it up on Wikipedia, and you will see that there are any number of improvisations both possible and permissible.
For the one today, I am using a particular carrot tea cake (image below) which is not only extremely moist and malleable, but also darn delicious, and that is the one made by Defence Bakery, Shop 34, Defence Colony Market, New Delhi 110024.
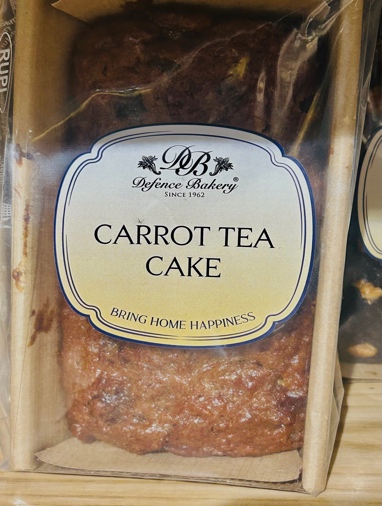
Above: Image Of Carrot Tea Cake
Next is the ice-cream, and believe me when I say that the texture, flavor and melting point of brand ‘Chubby Cheeks’ Coorg Vanilla Bean (image Below) is the best suited for this dessert … it is also one of my favorites to eat plain.
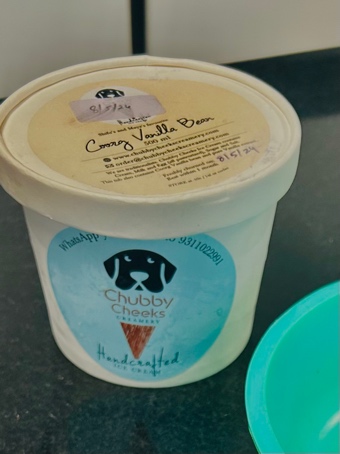
Above: Image of Chubby Cheeks Coorg Vanilla Ice cream
Method
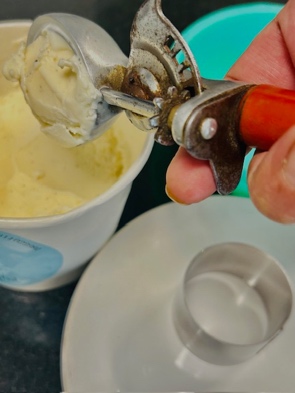
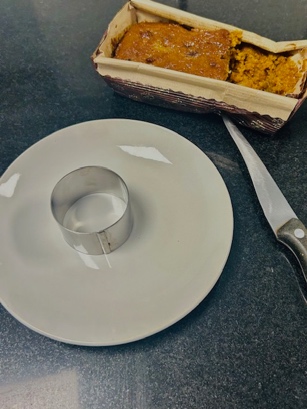
The meringue I am going to teach you how to make yourself at home, but first things first, and that is to shape both the cake base and ice cream using an open ring mould of 2 inch diameter and 1.5 inch height, as shown below.
Ice Cream
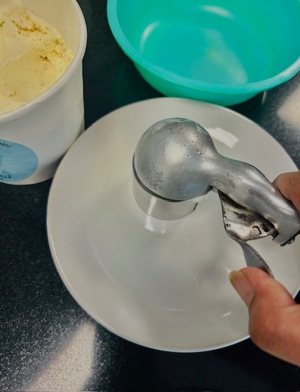
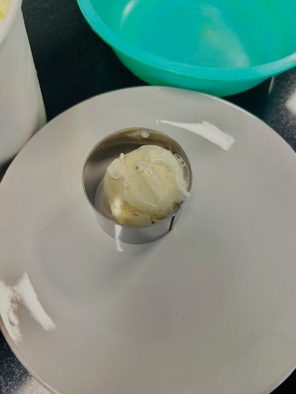
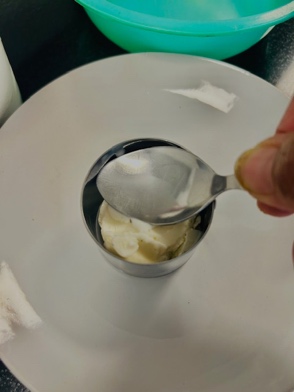
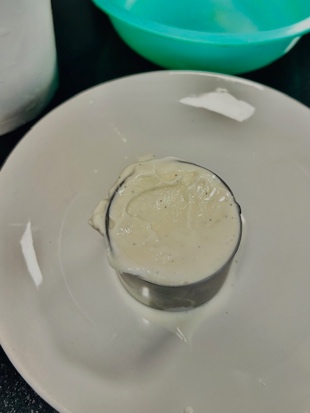
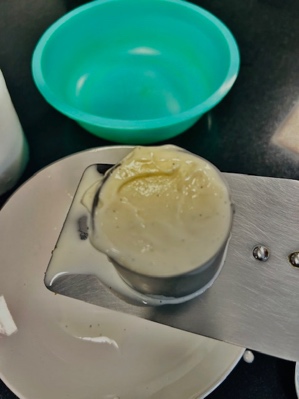
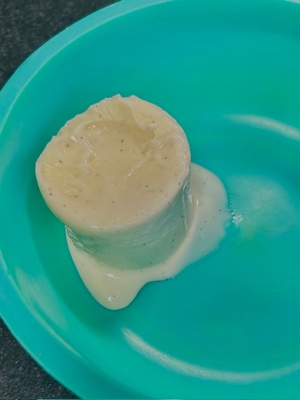
Start with the ice-cream, by placing the mould on a plate and then scooping in the ice cream to fill it (STEPS 1, 2 & 3), then pressing down with a spoon to level it out (STEPS 4 & 5). Then quickly transfer it to a bowl (STEP 6), lift off the mould and put it in the freezer (STEP 7).
Cake
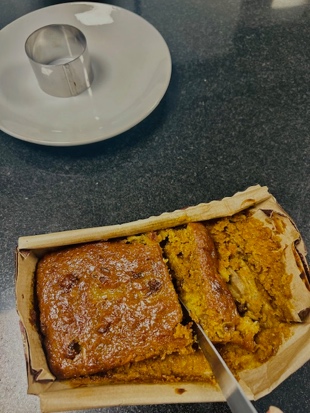
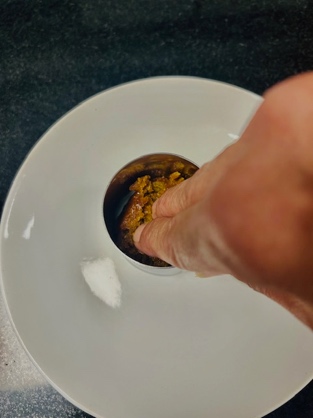
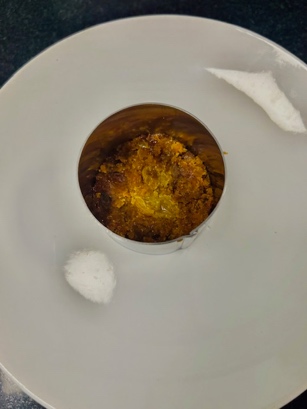
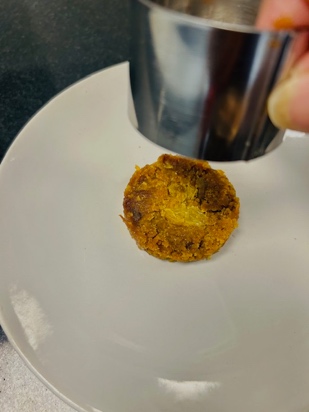
Next, using the same mould you will break off bits of the carrot cake (STEPS 1 & 2), and press into the ring mould on a plate until it has formed a base, ¼ of the way up the height of the mould (STEPS 3 & 4), then lift off the mould and refrigerate (STEP 5).
Meringue
And now we come to the making of the meringue, which is the only bit of real work you are going to have to do, other than the final assembly of the dessert.
Ingredients
YIELD: 4 Individual Baked Alaskas
- 2 large eggs
- 100 g caster sugar
- 1 teaspoon cornflour
- ½ teaspoon vinegar
- INGREDIENTS
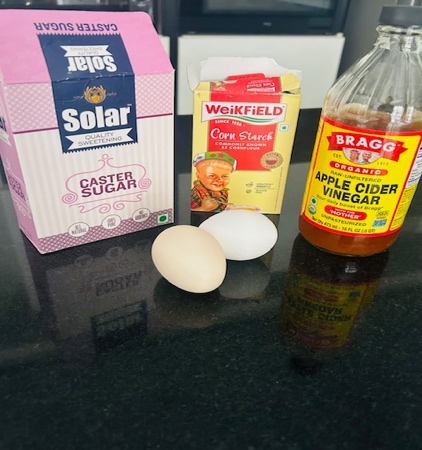
Above: Meringue Ingredients
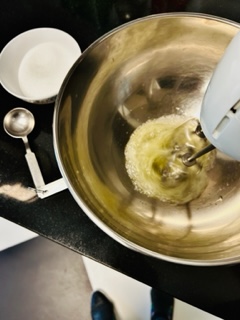
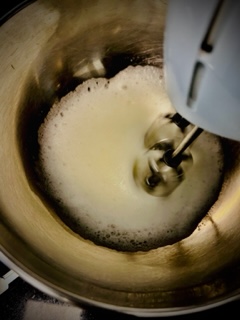
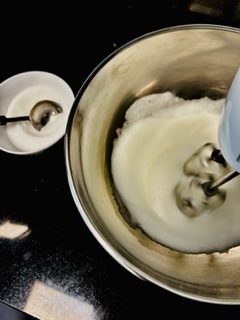
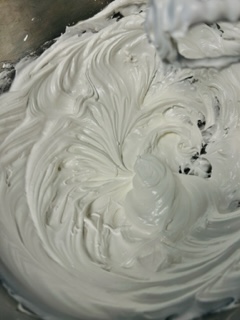
First and foremost separate your eggs; you need only the whites, which you must place in a large stainless steel bowl. Then start whisking your egg whites with an electric hand beater, set at the lowest speed (STEP 1). Once the egg whites are frothy and beginning to homogenise, as shown in IMAGE 2, then start adding the sugar, one tablespoon at a time (STEP 3) and beating for at least one minute between each addition, until you arrive at the consistency of IMAGE 4. (Please note that it is imperative you only add 1 tablespoon of sugar at a time and beat for 1 minute between each addition.) Then add the cornflour and vinegar and beat again for 1 minute.
Assembly
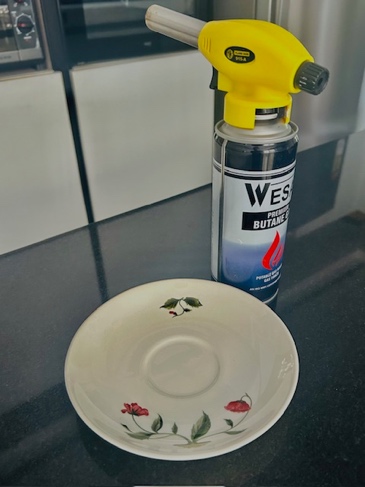
And finally we come to the building of the meringues, for which first and foremost get your serving plate and blow torch ready (STEP 1). You can buy a blow torch (or flame gun) and cylinder on Amazon or else from The Butler Hotel Supermarket, C-196, Sardar Inderjit Singh Bhatia Rd, Block C, Lajpat Nagar 1, Lajpat Nagar, New Delhi, Delhi 110024, where they will even show you how to use it.
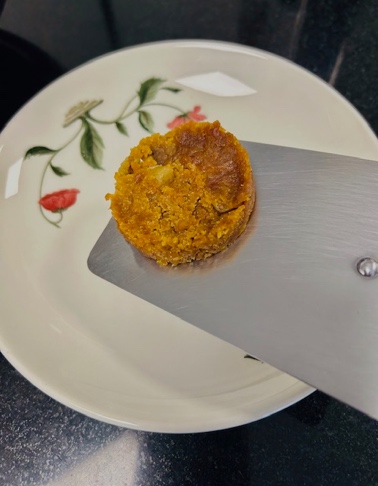
Next, take your cake out of the fridge and place it on your serving plate (STEPS 2 & 3). Then take the ice cream out of the freezer and place it on the cake (STEPS 4 & 5) – I am showing you a slightly deformed ice cream piece, just to re-assure you that it doesn’t matter too much if it is de-formed, for you are going to wrap the meringue around it.
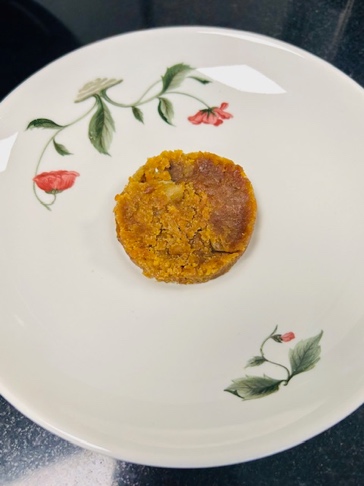
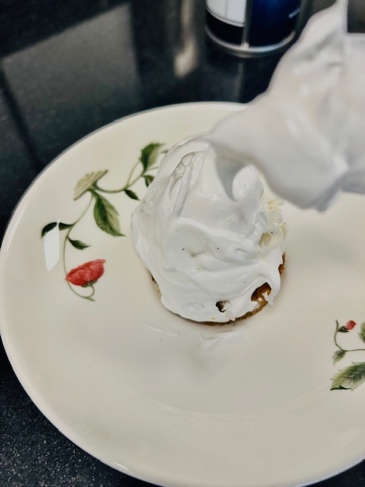
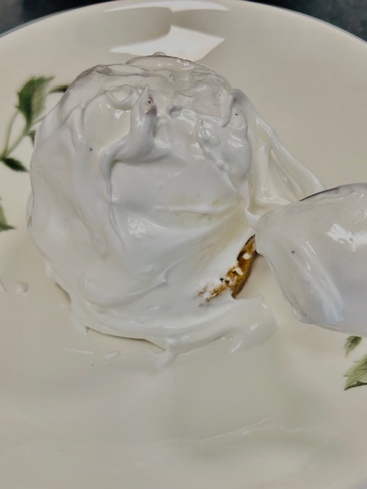
Now, begin spooning on the meringue (STEPS 6 to 9), a nice thick layer but not more than 1/2 inch thick, and spreading it out all over the cake and ice cream using the back of the spoon to create little peaks (a few practice sessions and you will get comfortable doing it), until it is covered from top to bottom.
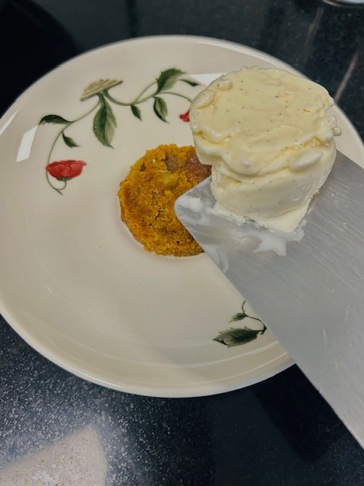
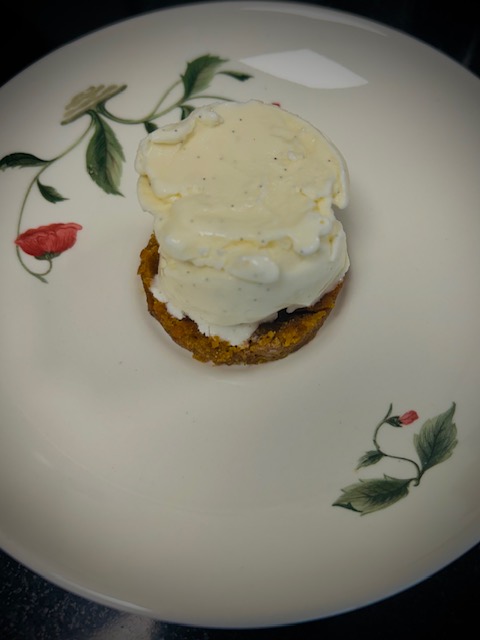
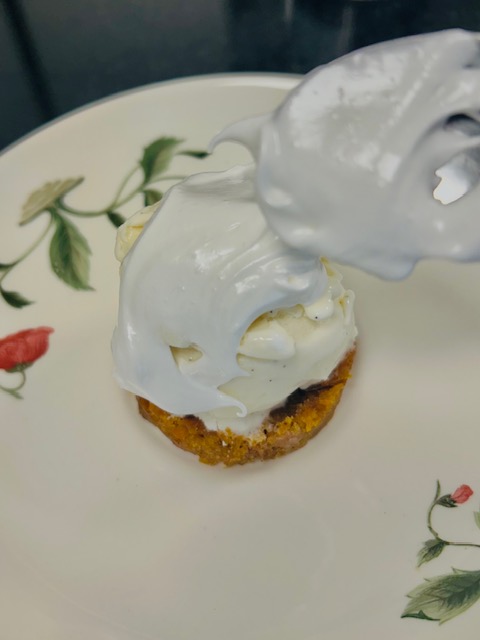
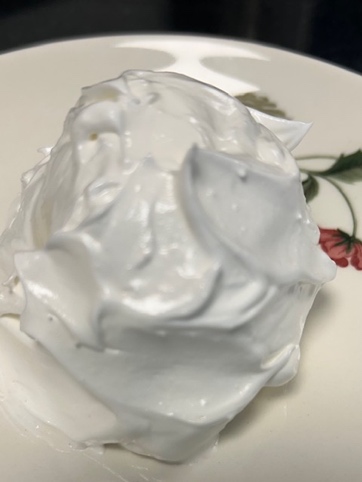
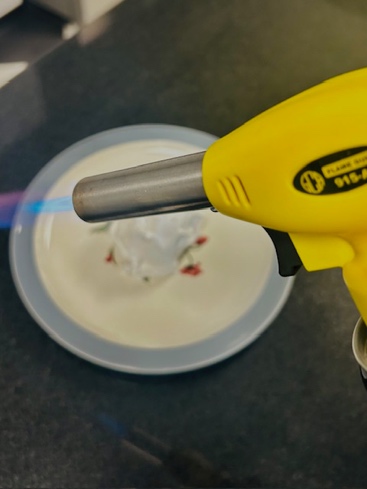
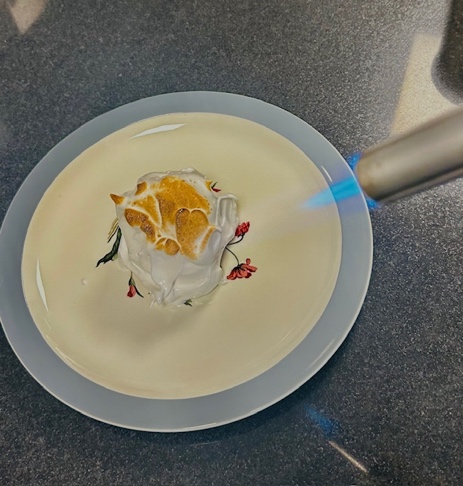
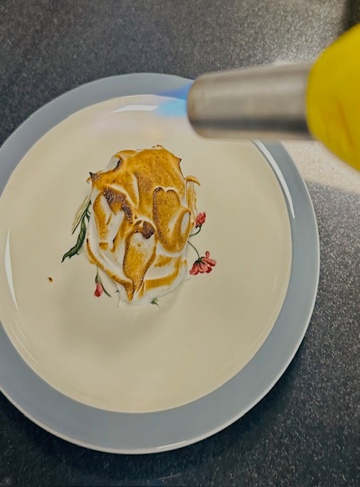
Now turn on your blow torch to the lowest strength (STEP 10), and slowly bring the flame towards the meringue until it begins to burn (STEP 11) and then don’t go any closer, moving it around the whole Alaska from the same distance, until it is done (STEP 12).
Serve immediately and take a bow as your guests squeal with joy!

