… Served EITHER with Glazed Onions, Sauteed Mushrooms, Port & Brandy Enriched Cream Sauce,
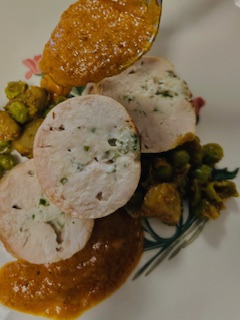
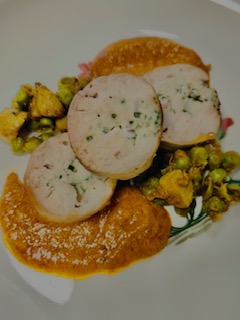
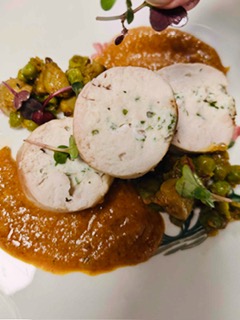
OR with Indian Ginger & Cumin Tempered Peas & Mushrooms, ‘Butter Chicken’ Gravy


Once again, I decided to try a little Indo-European partnership, and even if I say so myself, this too works like a dream…since each & every Indian home kitchen has their own unique versions of both tempered peas & mushrooms, aka ‘mushroom matar’, and butter chicken, I am not going to waste time and space by offering up the recipes from my home kitchen, which, as it so happens, belong to my chief cook who was rather pleased to have been asked to help.
Instead, I am simply going to demonstrate the making of the ballotine and its silken and sensual chicken mousseline stuffing, in addition to the mushroom sauce and glazed onion accompaniment.
I will start with the chicken mousseline, here below.
YIELD: 6 ballotines
- 250g chicken breast roughly chopped
- 1 cold egg white
- 5 tablespoons finely chopped parsley
- Up to 200ml imported double cream
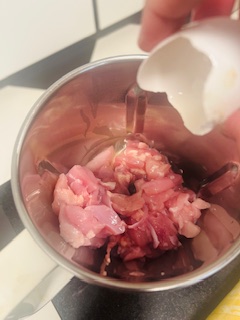
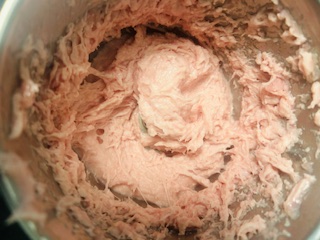
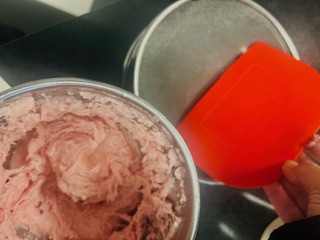
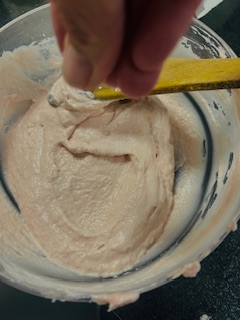
First, place the chopped chicken and egg white in a blender, and pulse into a fine mince (STEPS 1 & 2).
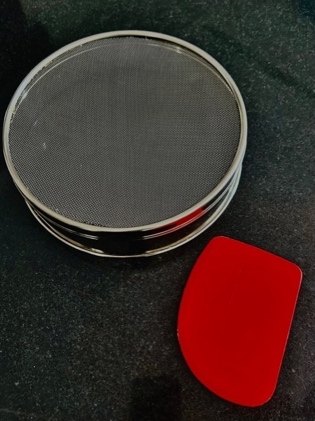
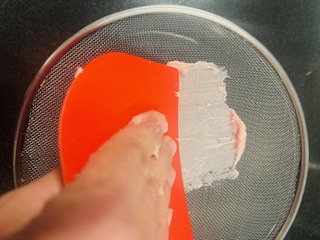
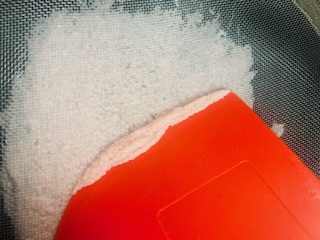
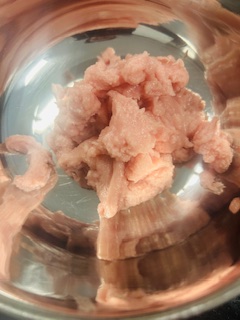
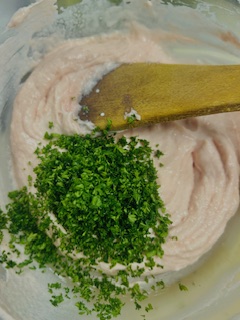
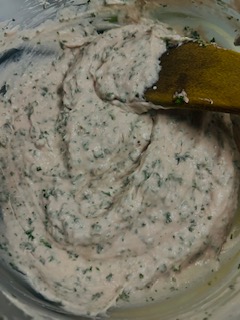
Then using a flour sieve, i.e. tamis and dough scraper (IMAGE 1 – the tamis and dough scraper can be ordered from Amazon) , scrape the mince through, approximately two tablespoons at a time, flipping the tamis over after each set, scraping up the mousse and placing it in a bowl until you have finished all the mince (STEPS 3 TO 7). 250g mince will yield anywhere between 195g to 200g mousse. Then gradually add the same amount of cold double cream, approximately ¼ cup at a time, beating in with a wooden spoon until fully incorporated (STEP 8 TO 10). Then fold in 5 tablespoons of washed, dried and finely chopped parsley and refrigerate till needed (STEPS 11 & 12).


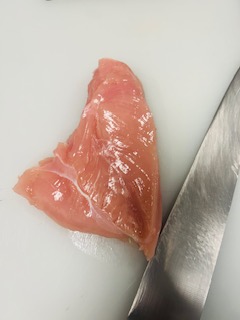
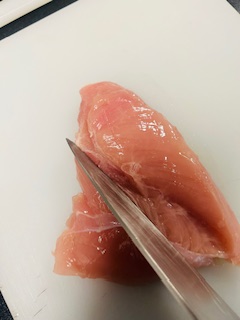
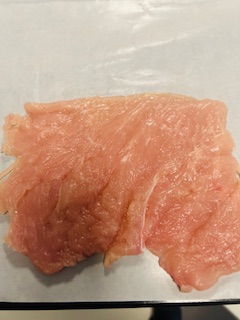
Next, move on to the preparation of the chicken breast, which you can get from your preferred butcher. I am simply demonstrating the making of one ballotine.
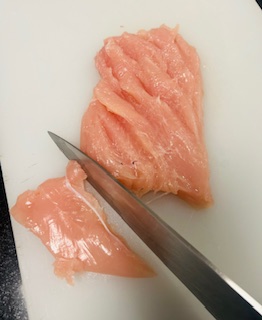
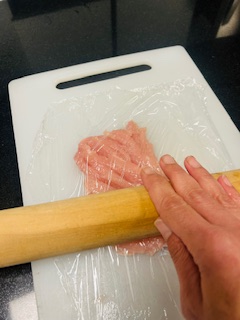
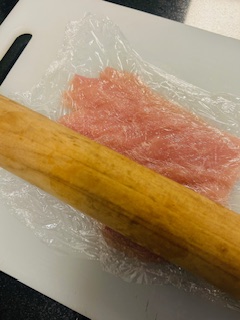
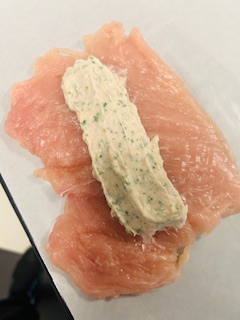
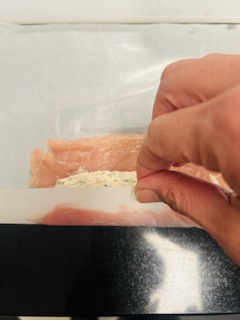
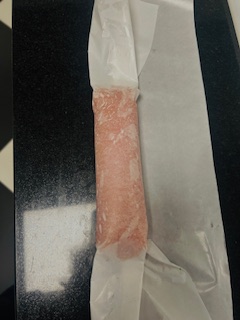
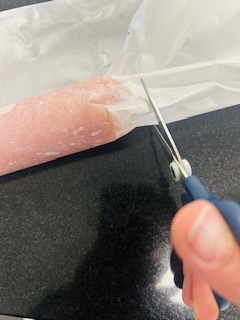
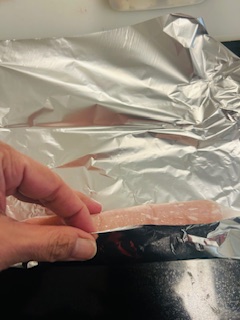
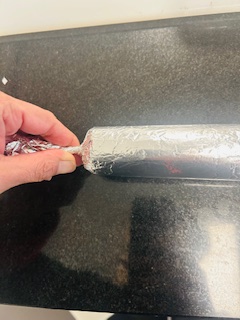
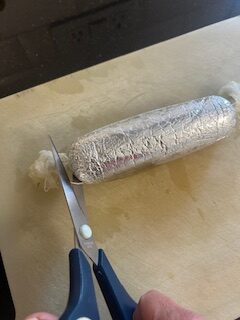
Lay the breast on a chopping board (STEP 13) and using a sharp knife, cut into the breast at regular intervals (STEP 14) without cutting all the way through, but rather just to even it out. Cut off any loose ends (STEP 15). Then cover it with cling film (STEP 16), and using a rolling pin, roll over the breast to further flatten out, first length wise (STEP 17), then breadth wise (STEP 18), and finally beat it lightly with the rolling pin to even out more (STEP 19). Then cut a piece of baking paper (STEP 20), lay the flattened breast on top (STEP 21), and across the length, ½ inch in from each end, spoon a log of the mousseline ¼ of the way in from one edge (STEP 22). Then using the baking paper, lift and roll into a log (STEPS 23 & 24), trim the baking paper using scissors (STEP 25), and then tighten the baking paper at each end in a loose knot or scrunch (STEP 26).


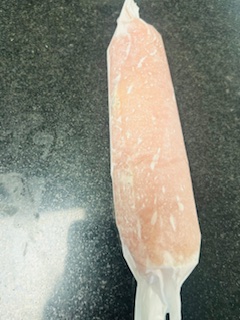
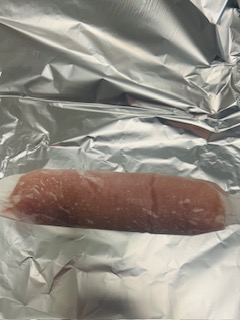
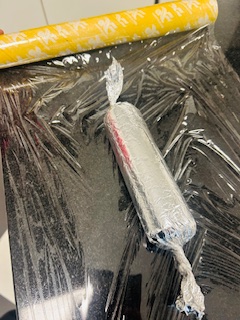
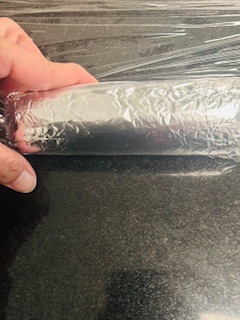
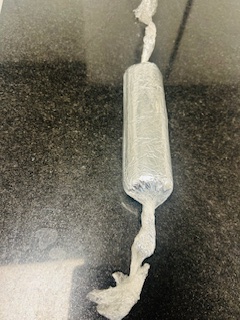
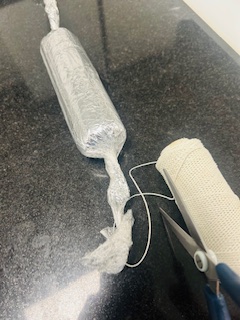
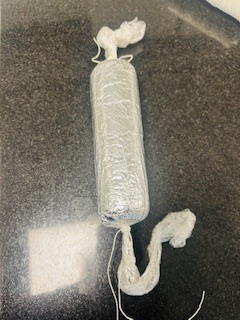
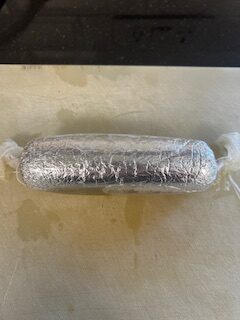
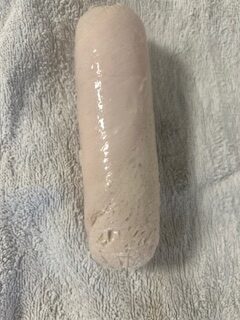
Then lay out a piece of silver foil, and roll the ballotine tightly in the foil (STEPS 27 & 28), twisting the ends into a tight knot this time (STEP 29), then roll in the same way in cling film, again twisting the ends into a tight knot (STEPS 30 TO 32), and this time tie each knot with kitchen string (STEPS 33 & 34).
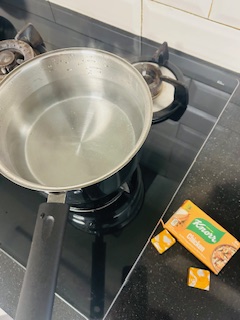
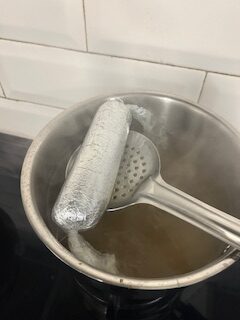
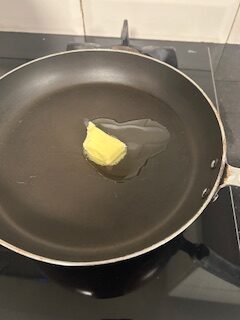
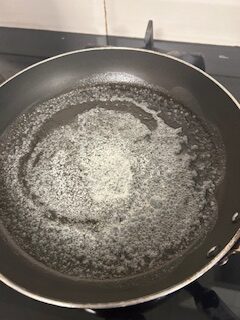
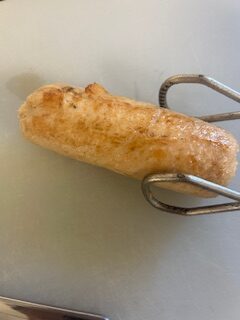
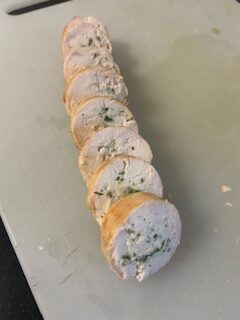
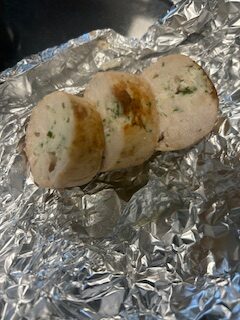
Next you will make up some chicken stock using knorr chicken cubes (STEPS 1 & 2). I have added two cubes to 1 litre of water. Bring the stock to a bare simmer, then place your ballotine inside and let it gently poach for 20 minutes (STEPS 3 & 4). Then remove the ballotine using a slotted spoon (STEP 5), place on a chopping board (STEP 6), cut open the wrapping (STEP 7) and immediately transfer to a cloth towel for it to dry out (STEP 8). Then melt some butter and oil in a frying pan on medium heat (STEP 9), let it begin to sizzle (STEP 10), and then using tongs, roll the ballotine in the frying pan to lightly brown on all sides (STEPS 11 & 12). Remove and place on a chopping board (STEP 13), and then slice into a series of ¼ inch slices (STEP 14 & 15), or else cut thicker slices (STEP 16), depending on how you wish to present and whether or not it is part of a multi course meal. The final presentation I am demonstrating is using the 3 thick slices, as the main course of a five course meal.


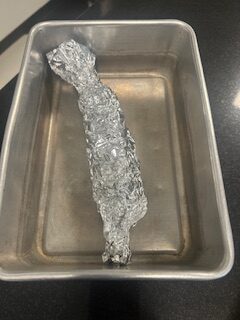
Then let cool and wrap those slices tightly in foil (STEP 17), at which point you can keep them overnight in the fridge, and bring to room temperature before placing in a baking dish (STEP 18), and reheating in a pre-heated oven at 160°C (bottom convection setting), for 10 to 15 minutes. Now move onto the glazed pearl onion garnish.
Glazed Pearl Onion
YIELD: 6 COVERS
- 150g pearl onions
- 15g butter
- 15g sugar
- Water to cover
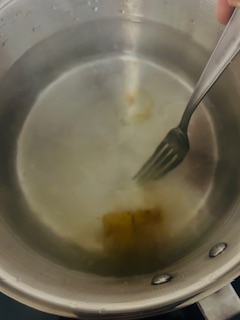
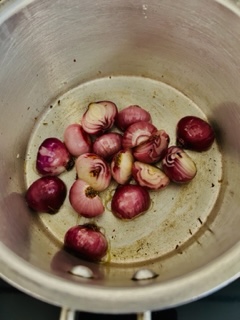
Peel the pearl onions, leaving them whole and then lightly saute them in butter over low heat (STEP 1). Then cover with water, add the sugar, stir, bring to a boil and then reduce heat and let simmer till the onions are cooked through (STEP 2); the timing can vary according to the size of the onions, so keep checking every 5 minutes.

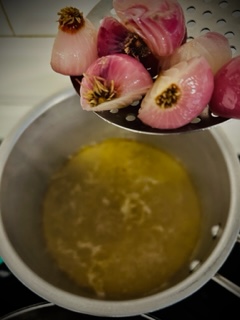
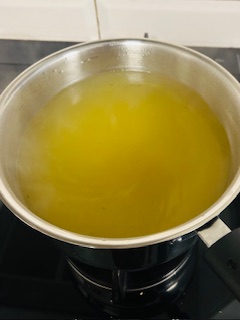
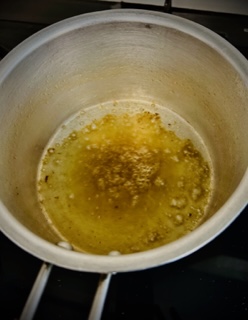
Once the onions are cooked, remove them with a slotted spoon (STEP 3) and boil the remaining liquid down to a glaze (STEP 4). In the meanwhile, remove the hairy ends but don’t cut off the root, and slice each onion in half. Finally return the onions to the pot and toss in the glaze (STEP 5).

And now finally the Port, Wine & brandy enriched cream of Mushroom sauce.
YIELD: 6 COVERS
- 700g button mushrooms sliced into 5 cm width slices approximately
- 5 tablespoons finely chopped shallot
- 6 cloves garlic finally chopped
- 450ml chicken stock
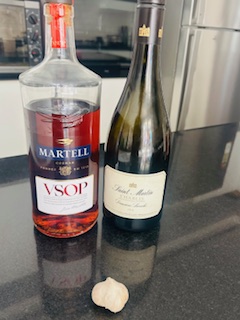
- 140ml port
- 140ml brandy
- 140ml white wine
- 450ml double cream
- 4 tablespoons chopped thyme
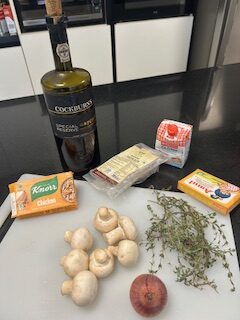
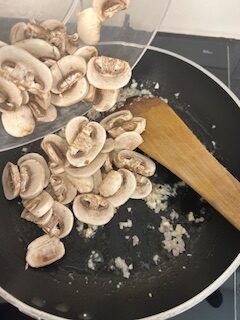
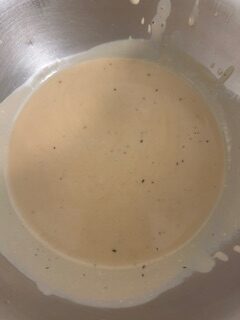
Gather all of the ingredients (IMAGES 1 & 2), and prepare them i.e. chop, slice or measure out.
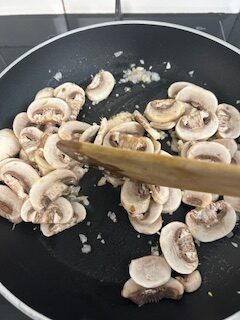
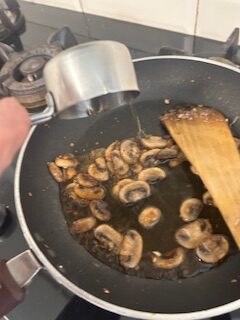
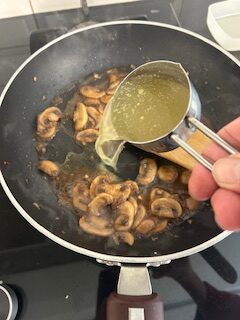
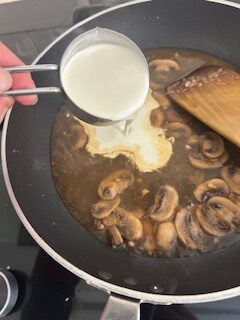
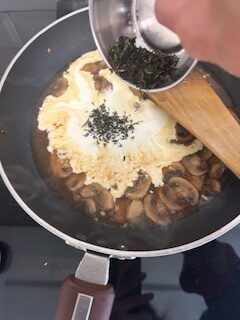
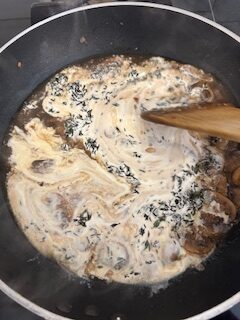
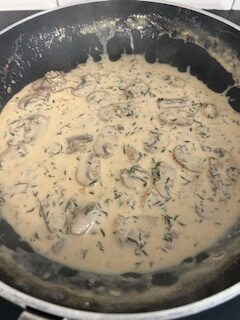
Then heat about 4 tablespoons, i.e. 60 grams of butter on medium heat (STEP 1), add the garlic and onion and saute till softened (STEP 2), then add the mushrooms and saute till browned (STEPS 3 & 4), then add the three alcohols and reduce on high heat until syrupy (STEPS 5 & 6), then the stock (STEP 7) bring up to a simmer and let it simmer until reduced by a quarter, then add the cream and thyme, stir it in, and continue to simmer until reduced by another quarter, and thickened to coating consistency (STEPS 8 to 11). Then strain, reserve mushrooms for the garnish along with the baby onions, and set aside the sauce until use (STEPS 12 & 13).


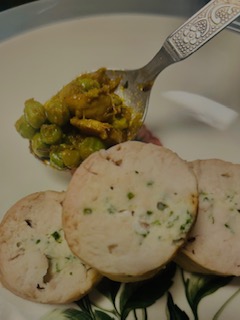
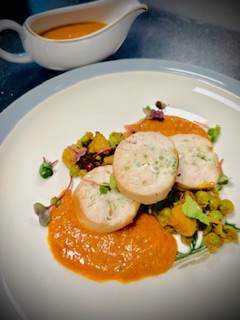
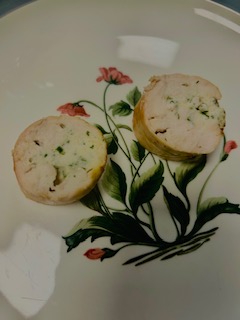
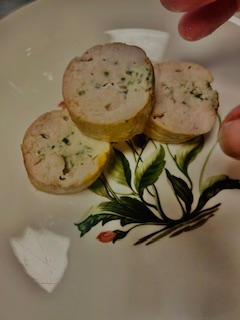
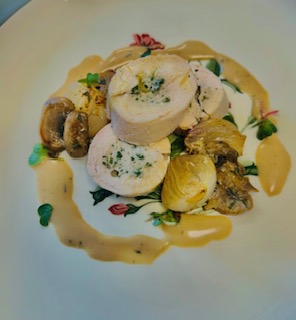
And now finally the finishing and assembly. First and foremost begin reheating the mushrooms, onions and sauce. Then pull the chicken out of the oven, place two pieces on the plate with a gap in between (STEP 1), and the third piece on top of both of them (STEP 2 – if you are using more slices, you can either overlap them in one straight line, or else place two more slices on either side of your little tower). Then place two halves of the pearl onions on either side, and drop some mushrooms next to them, drizzle the sauce around the plate and scatter with some microgreens (FINAL IMAGE). Do serve some extra sauce in a sauce boat on the table for your guests to wet the chicken more, as shown in the butter chicken version further below, in which I have been more generous with the sauce on the plate.
European Version Plating
Indian Version Plating