This week, I am going to teach you how to re-produce in your very own kitchen at home in India, in the most simple way possible, a modern French ‘Millefeuille’.
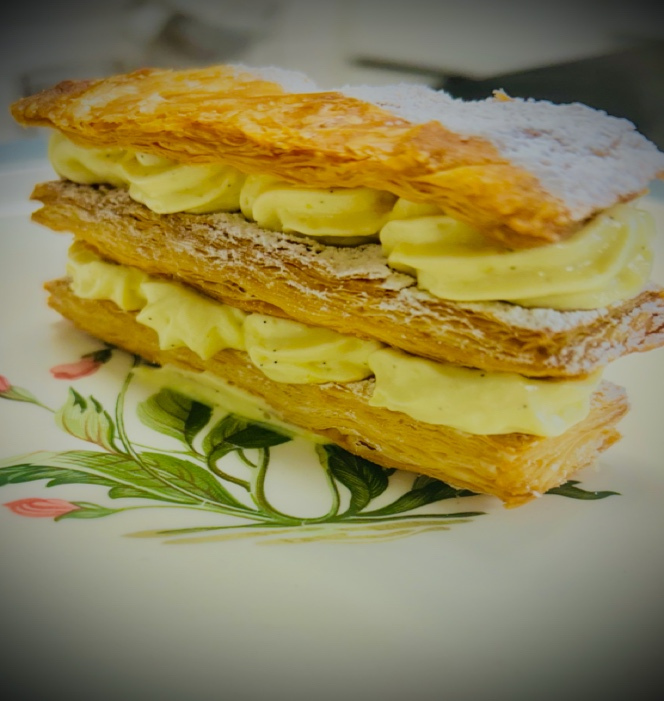
Now strangely, I fell in love with this particular pastry – which is more of a tea time treat than sit-down dinner party dessert – in New Delhi, India, when I tasted it done ‘a la minute’ i.e. assembled on order, for the very first time at the former principal restaurant of the Lodhi hotel, ‘On the Waterfront’, and it was just as its name suggests, ‘a thousand layers’ of feather-weight crisp and creamy heaven on the palate, the scent of vanilla so subtle, only an accomplished poet would be able to do a description justice.
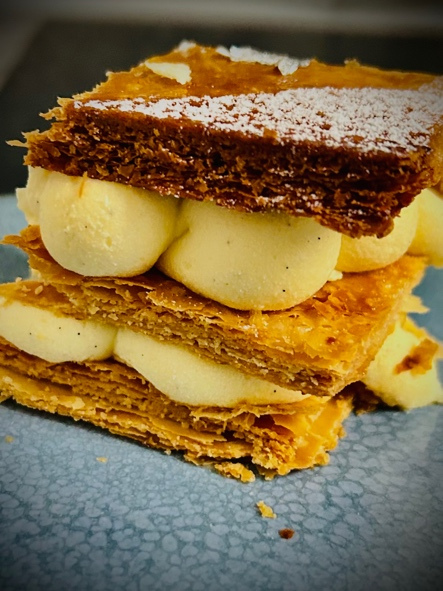
In all of my years living in Paris and holidaying around the rest of France, I had only ever tasted a pre-made bakery version, and that too, using the traditional pastry cream filling that is not only rich but also dense, in addition to the classical layer of fondant icing on top with swirls of melted chocolate within…well, the modern millefeuille is an altogether different symphony, even if the orchestra of ingredients remains pretty much the same, and although I like to think of myself as old-school and habitually lament the contemporary versions of many things, that is most definitely not the case with the modern millefeuille, the pastry cream not only lightened, but also elevated with the addition of whipped cream, an elegant dusting of icing sugar unseating the former fondant that was not only cumbersome for the palate but also waist-line.
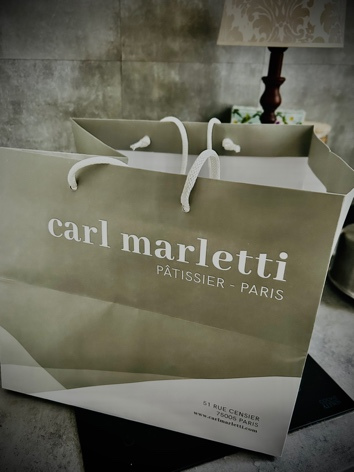
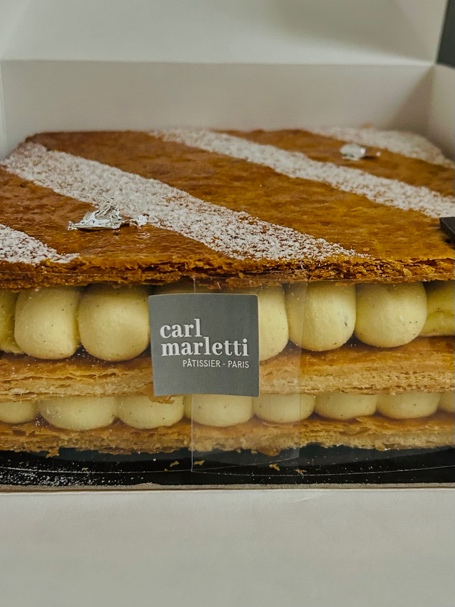
And so, the last time I was in Paris, in October 2023, I did my research on the best millefeuilles available in the city, and of all the opinions and reviews I read, the two that were the most compelling were the one at the patisserie of the Crillon hotel and another by renowned chef Patissier, Carl Marletti, his outlet in the 5th arrondissement in Paris worth a visit merely for its picture postcard perfect location.
For reasons of sheer nostalgia, I visited the butterfly patisserie first, the Crillon hotel having been, once upon a time, home to a restaurant called Les Ambassadeurs, which my late father, during his tenure as Indian Ambassador to France, would frequent, and where without fail, he would order just one dish to eat, the ‘agneau de lait de lozere’ i.e milk fed lamb from the area of Lozere in France, the chef at the time the very talented Jean Francois Piege, with whom my father would unfailingly have a chat and invariably reciprocate the culinary seduction by way of his mastery of the French language.
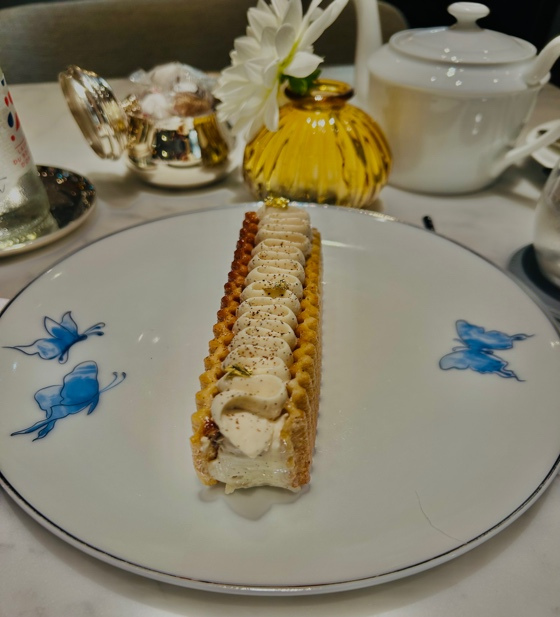


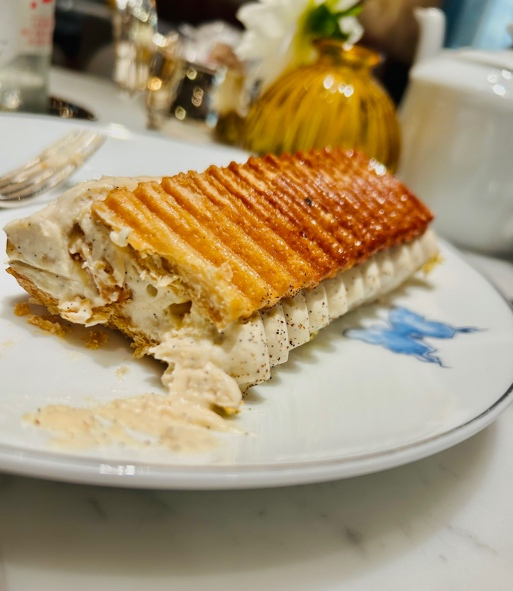
Above: ’before & during’ images of a modern millefeuille
by Chef Patissier Matthieu Carlin, at the Butterfly Patisserie
located at the Hotel de Crillon, Place de la Concorde, 75008, Paris.
The millefeuille at the Butterfly patisserie, made under the auspices of Chef Matthieu Carlin, is inarguably befitting of the Crillon Hotel and its renowned culture of perfectionism, the caramelized puff pastry sheets filled with a light as air Tahitian vanilla infused ‘milk jam’- the literal translation of ‘confiture de lait’ – transporting the palate to never-never land with every bite. Served on its side, as featured above in the photograph, made it an interactive experience akin to unwrapping a precious gift; moreove,r it is often also much easier to assemble a millefeuille in this way when the filling is extra light and unable to hold the pastry upright.
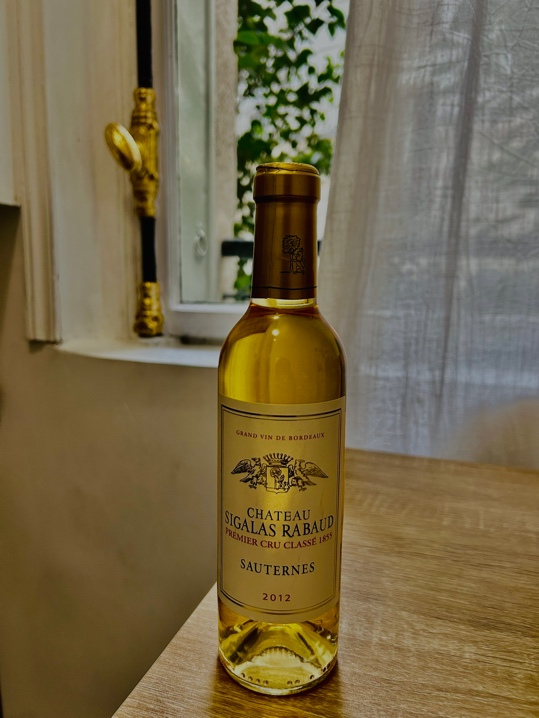
Above: Quarter bottle of Sauternes wine
I was pretty sure that this couldn’t be bettered and I was indeed proved right, except that Marlettis’, to my palate, comes a very close second; there is one I didn’t try for I was obliged to buy a whole Millefuille for 6 to 8 pax at Marletti, since they had run out of the individual ones that day, and I was not only running out time in Paris but also space inside my stomach; in fact I had no choice but to pick up a mini bottle of Sauternes ( the liquid gold that is France’s most precious dessert wine, and helps expand the appetite), to be able to do justice to the cake. But on my next trip to Paris, I will most certainly venture to what many are calling a mecca for the ‘a la minute millefeuille’…but for that you will have to wait.
In the meanwhile, I am going to compensate by teaching you how to re-produce in your very own kitchen at home in India, in the most simple way possible, a modern French Millefeuille … and no, you will not have to make your own puff pastry, for there is a bakery located in the area of Sultanpur, New Delhi, called Swiss Gourmessa, from where you can order the most phenomenal ready to use puff pastry at the rate of INR325 for 500g. Just log on to swissgourmessa.com.
But first and fore-most you are going to make the pastry cream filling and rest it overnight. The source of this recipe is an Instagram site called salement_sucre; I looked at hundreds before selecting this one, for it is what is easiest for the amateur to do at home and comes closest to what I ate. Others require a somewhat complicated technique of whipping and incorporating butter into the pastry cream.
Pastry Cream
Ingredients
- 250ml milk (amul or nestle, but not skimmed)
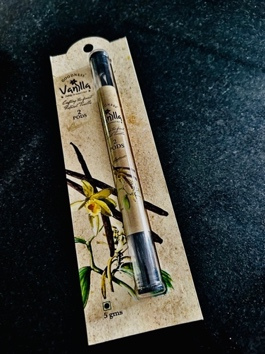
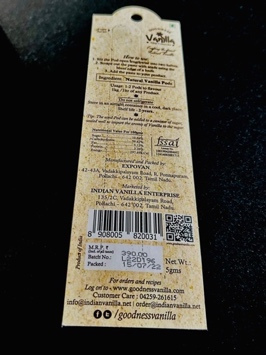
- 1 vanilla pod (picture below, a test-tube containing 2 pods, and available at Defence Store, 38, Defence Colony Main Market, New Delhi 110024
- 3 ordinary egg yolks
- 50g caster sugar
- 30g corn flour (brand weikfield)
- 3g gelatine powder diluted in 18g water (I use simple Gell-A-Tone, brand Solar)
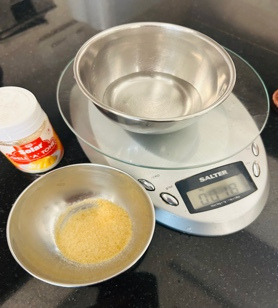
Of course, for these tiny measurements, you will first of all need to invest in a digital kitchen weighing scale that can weigh as little as 1g, and there are quite a few varieties available on Amazon.in. The one I use is from London, featured here below.
Method
Day 1
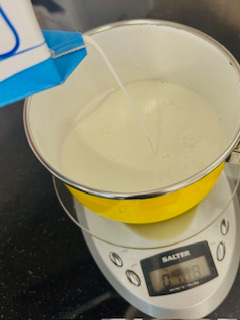
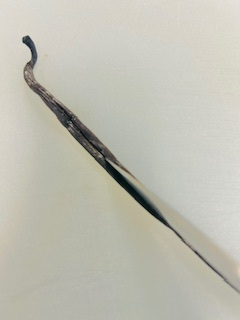
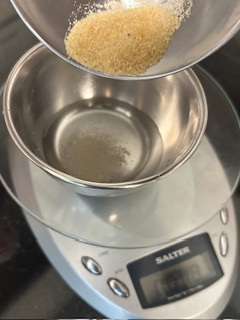
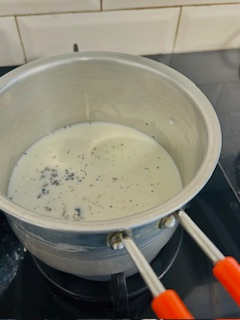
Now, first weigh out your milk, (STEP 1) then slit open the vanilla pod (STEPS 2 & 3), scrape out the seeds (STEP 4) and add them to the milk (STEP 5).
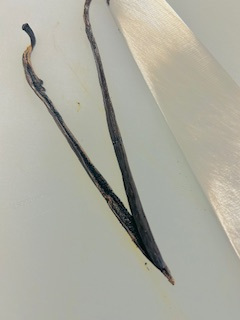
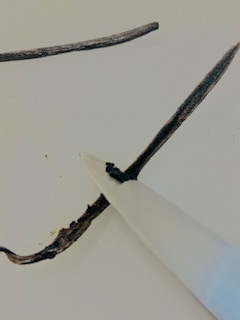
Then weigh out the gelatine and water separately for the sake of precision, then add the gelatine to the water (STEP 6) and mix it in with a teaspoon (STEP 7). Refrigerate for 20 minutes.
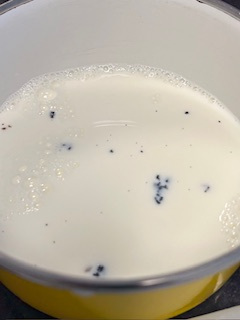
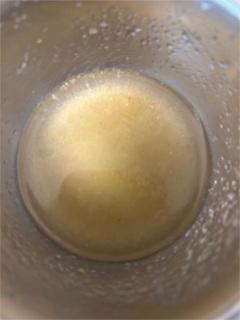
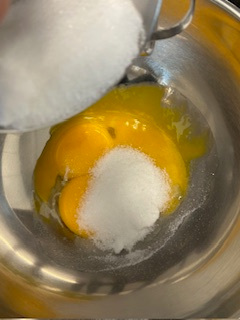
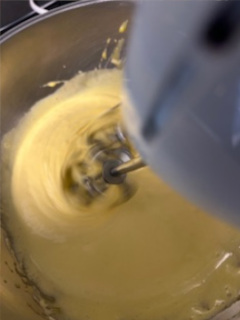
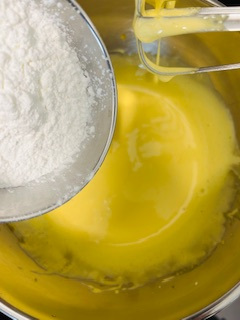
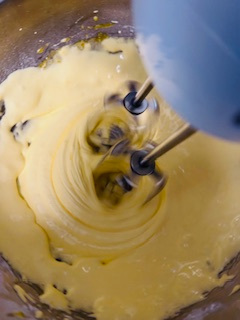
Next, whisk your egg yolks with caster sugar (STEPS 8 & 9), using an electric whisk, until the mixture turns pale and doubles in volume, then add the corn flour and whisk again until combined (STEPS 10 & 11). Set aside.
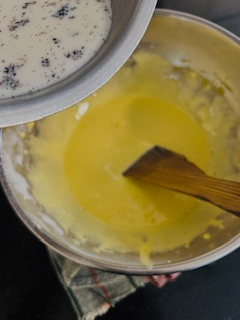
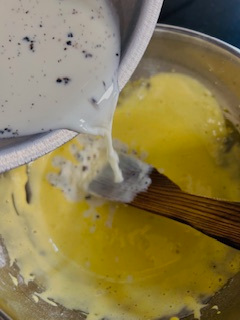
Now heat the milk over low heat till it is just about to come to a simmer (STEP 12), take it off the heat and start by adding just a tiny bit to the egg yolk mixture (STEP 13), stirring it in vigorously with a wooden spoon, and then add the rest in two more additions, all whilst stirring, but now more gently, with the wooden spoon (STEPS 14 & 15). Then pour the mixture back into the pot, place over low heat (STEPS 16 & 17) and whisk continuously until it thickens, and yes, even begin to get scared that it is all going to turn into scrambled eggs, before pulling it off the heat (STEPS 18 & 19), for it does have to be not only thick but also tight, or else later it won’t be able to hold up the pastry layers.
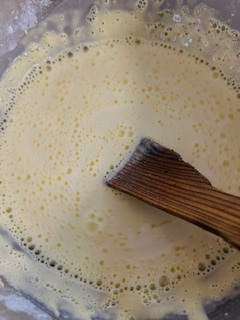
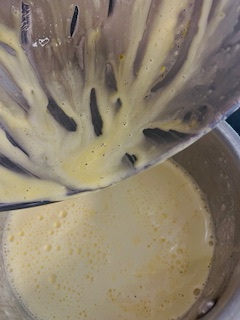
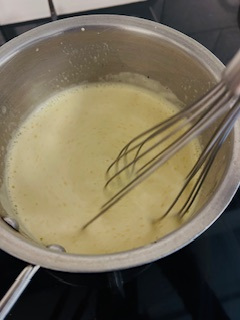
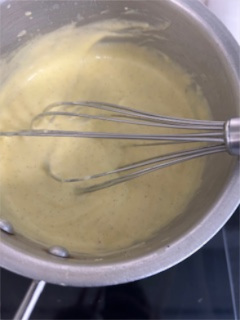
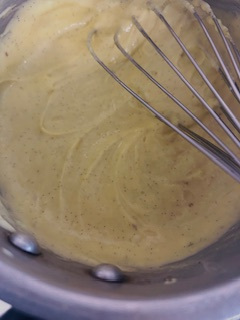
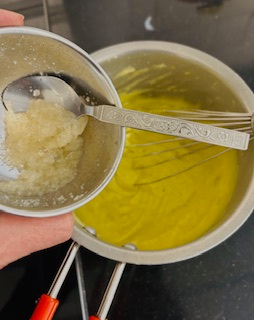
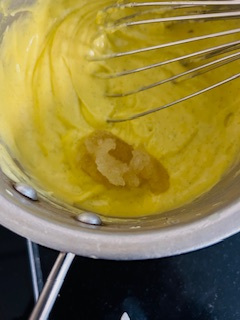
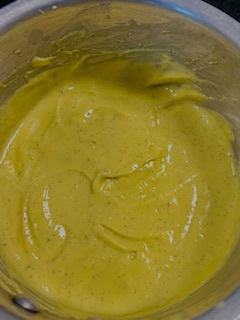
Then quickly add the gelatine and whisk in (STEPS 20, 21, 22), empty the mixture into a shallow rectangular container so it can spread out (STEP 23), and once it cools, cover it with cling film so that it is literally clinging to the surface of the pastry cream (STEP 24), and ideally refrigerate overnight, or else at least 4 hours.
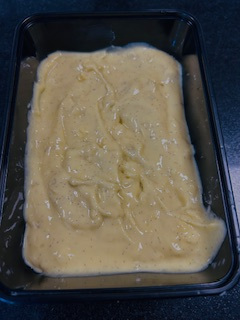
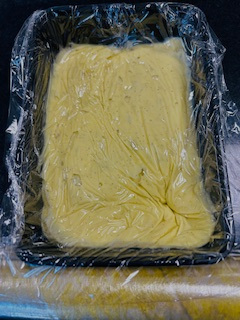
Day 2
And now the next day, before dealing with the puff pastry, you will first incorporate some whipped cream into your pastry cream.
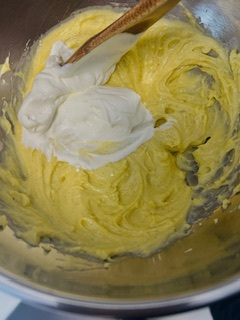
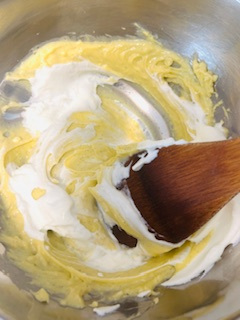
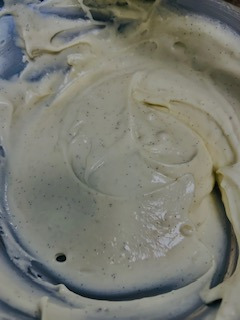
Measure out 100g of imported whipping cream (STEP 1) (brands Arla, Elle & Vire etc; it doesn’t matter so long as it is double aka whipping cream, all of which is quite easily available in grocery stores carrying imported goods), and whip it to stiff peak using the electric whisk (STEPS 2 & 3). Then take out your pastry cream and whisk it briefly to cream it up again (STEPS 4, 5 & 6). Then in two additions, fold in the whipped cream (STEPS 7, 8 & 9).
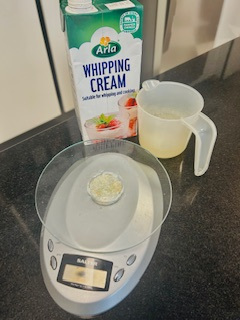
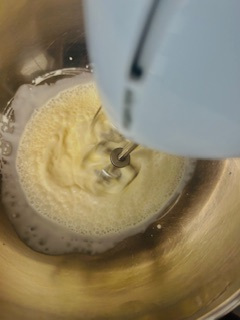
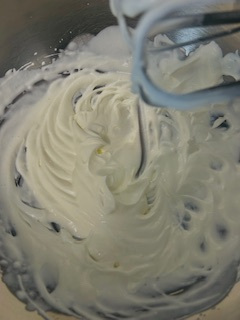
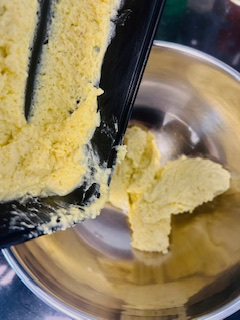
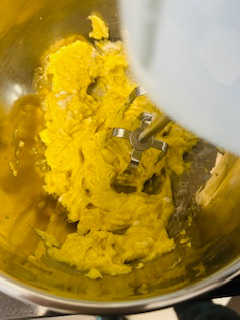
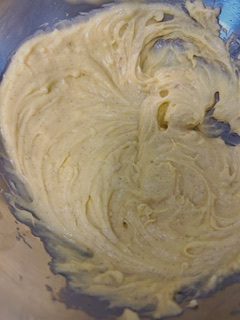
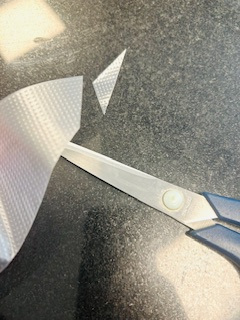
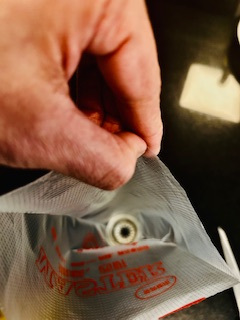
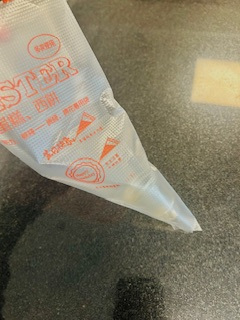
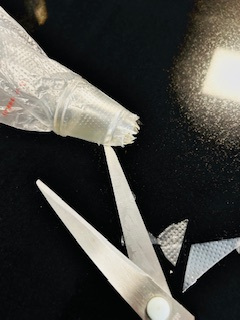
Now prepare your disposable piping bag (disposable bags and stainless-steel nozzles are available on https://amazon.in; I am using plastic nozzles I bought in London many years ago), by cutting off the end (STEPS 10 & 11), and then sliding a nozzle down to the cut end (STEPS 12 & 13), until it is protruding out. Trim with scissors if the protrusion is not clean (STEP 14). Remember that it is only practice that makes perfect.
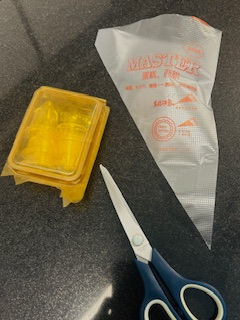
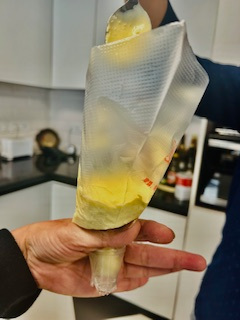
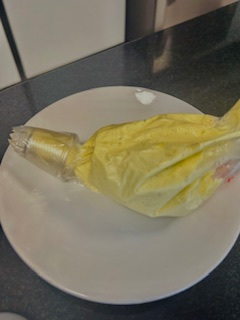
Now fill your bag with the cream, blocking the end where the nozzle is by twisting it around, and refrigerating the mix until ready to use (STEPS 15 & 16). Ideally refrigerate it for a minimum of 2 hours.
Pastry
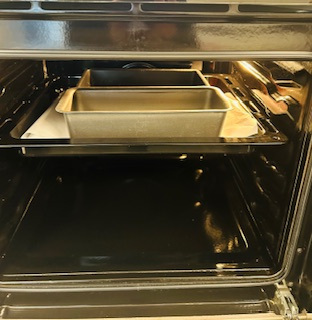
And now finally, it is time to prepare the pastry. You will need to cut the 500g piece that comes from Swiss Gourmessa into half to make approximately 4 portions, (I have used only ¼ in the images below) but there is no hard and fast rule to this; it all depends on how big or small you want them. Here I have rolled the pastry out to a 1.5mm thickness and cut out rectangles of 1.25in width and 4.5in length. You will be baking this on the second top shelf in a Kaff oven (pictured below), 18.75in height x 23.5in width x 16.5in depth.
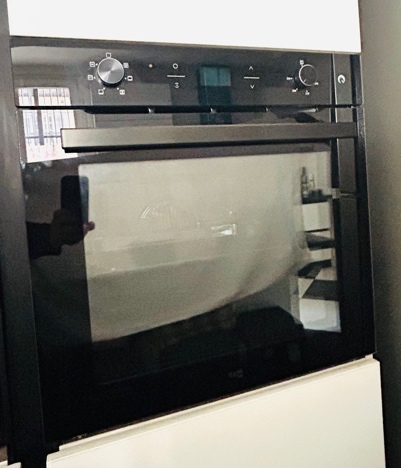
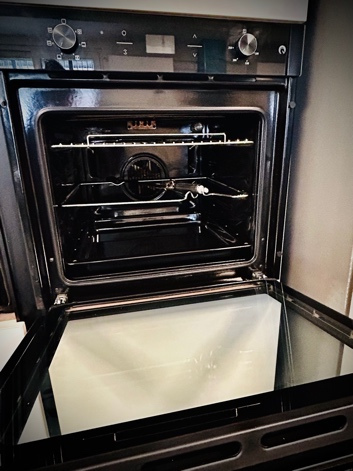
First remove the tray from the oven and place outside. Cover with butter paper (STEPS 1 & 2). Then set the temperature to 180c (bottom heating convection setting).
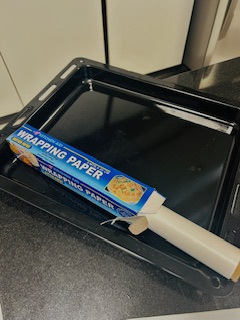
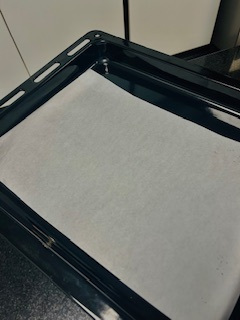
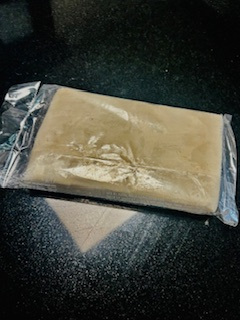
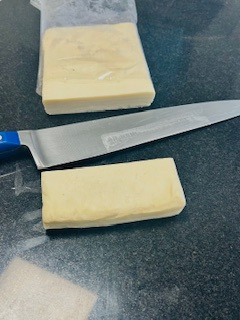
Now take the pastry out of the fridge (it will be delivered frozen, so let it thaw overnight in the refrigerator), cut off the amount you need (STEPS 1 & 2), or else use the whole amount for 8 portions.
Lightly flour your surface and begin to roll out the pastry, first length ways, then width ways and continue alternating until you have a rectangle of a width of 1.5 mm approximately (STEPS 3 to 7).
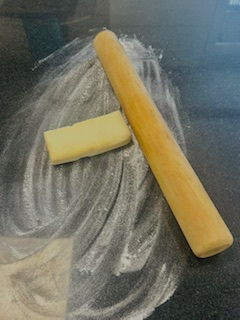
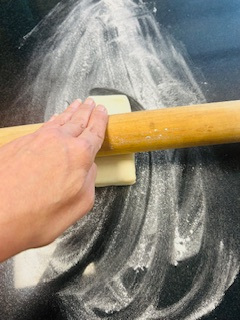
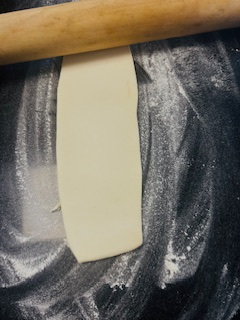
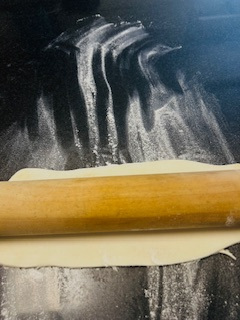
Then trim the edges to make a perfect rectangle (STEPS 8 & 9) and cut out even rectangles of the pastry. Prick all over with a fork (STEP 10). Place on the tray, then cover with another layer of butter paper and place anything oven proof lying around on top to prevent the pastry from rising too much (STEPS 11 & 12). I have used some baking dishes.
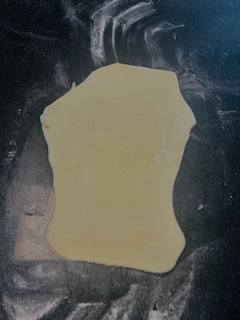
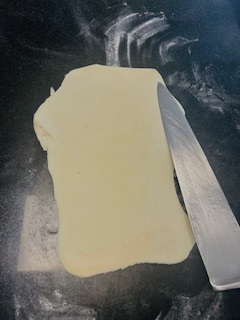
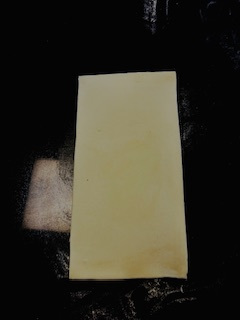
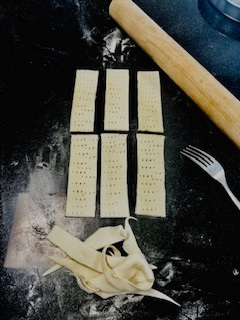
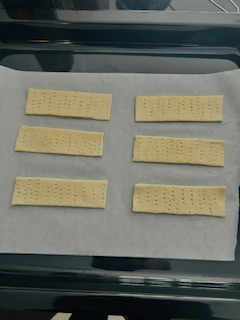
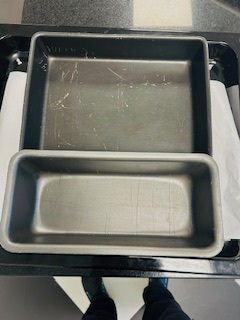
Place in the oven on the second shelf from top (STEP 13) and check after 10 minutes by removing the weights and butter paper, and if not browned enough, (i.e. golden brown is the color you are looking for as shown in the final image) then replace the butter paper and weights and cook a further 5 minutes. Then remove the butter paper & weights, flip the pastry, replace butter paper and weight, and cook for another 5 to 8 minutes. Unfortunately, there are these slight variables each time, so you will have to be attentive, but the end result is worth the attention, as you will see in the final image below; take them out and place on a wire rack to cool down.
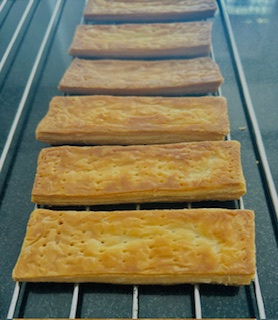
Above: Final Image of the Pastry
Grand Finale
And now the grand finale, which is the construction of the masterful millefeuille:
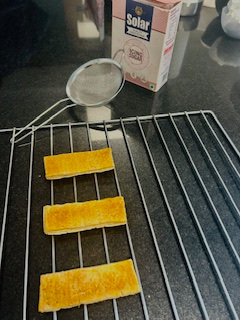
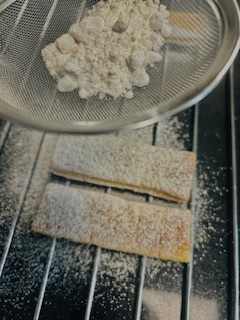
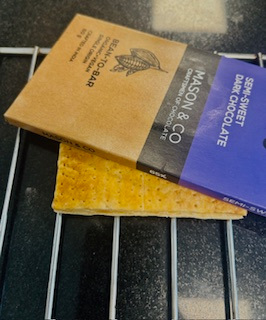
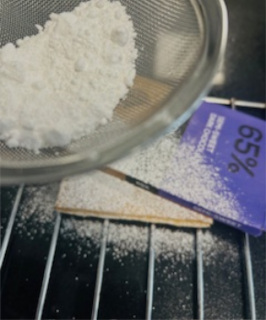
Take three of your pastry rectangles (STEP 1), dust two entirely with icing sugar (Brand Solar, available everywhere), (STEP 2), and for the third, cover one side of the surface with anything you like (as you will see, I used the case of a chocolate bar since it was within reach), and dust the rest with icing sugar (STEPS 3 ,4 & 5); this is simply an aesthetic detail. You can do whatever pattern you like.
Then take your filled piping bag out of the fridge, pipe one drop of cream onto a plate as a test run (STEPS 6 & 7), and then begin to pipe on to the pastry, lifting the nozzle up in a quick movement to stop the flow between each piped portion (STEPS 8 & 9). Once you have completed the two layers, place one on top of the other (STEPS 10 & 11), then transfer to your serving plate and place the final layer on top. Indeed piping will need some practice, but it is great fun!
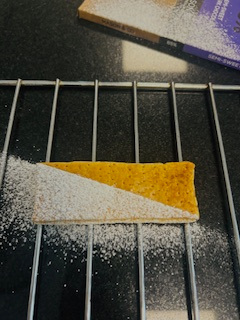
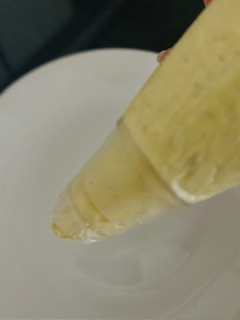
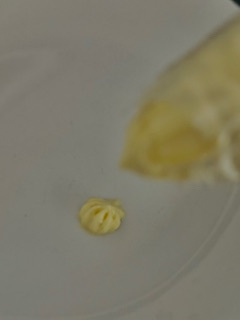
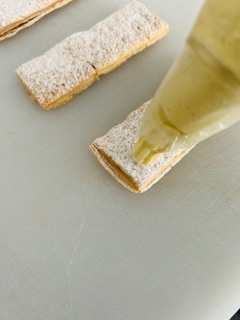
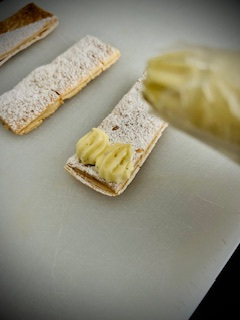
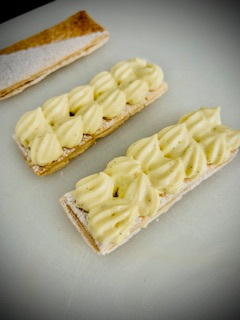
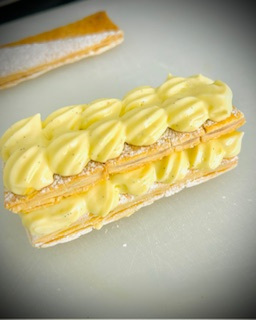
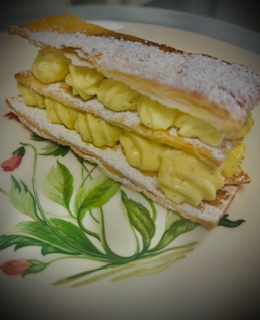
Above: Grand Finale
