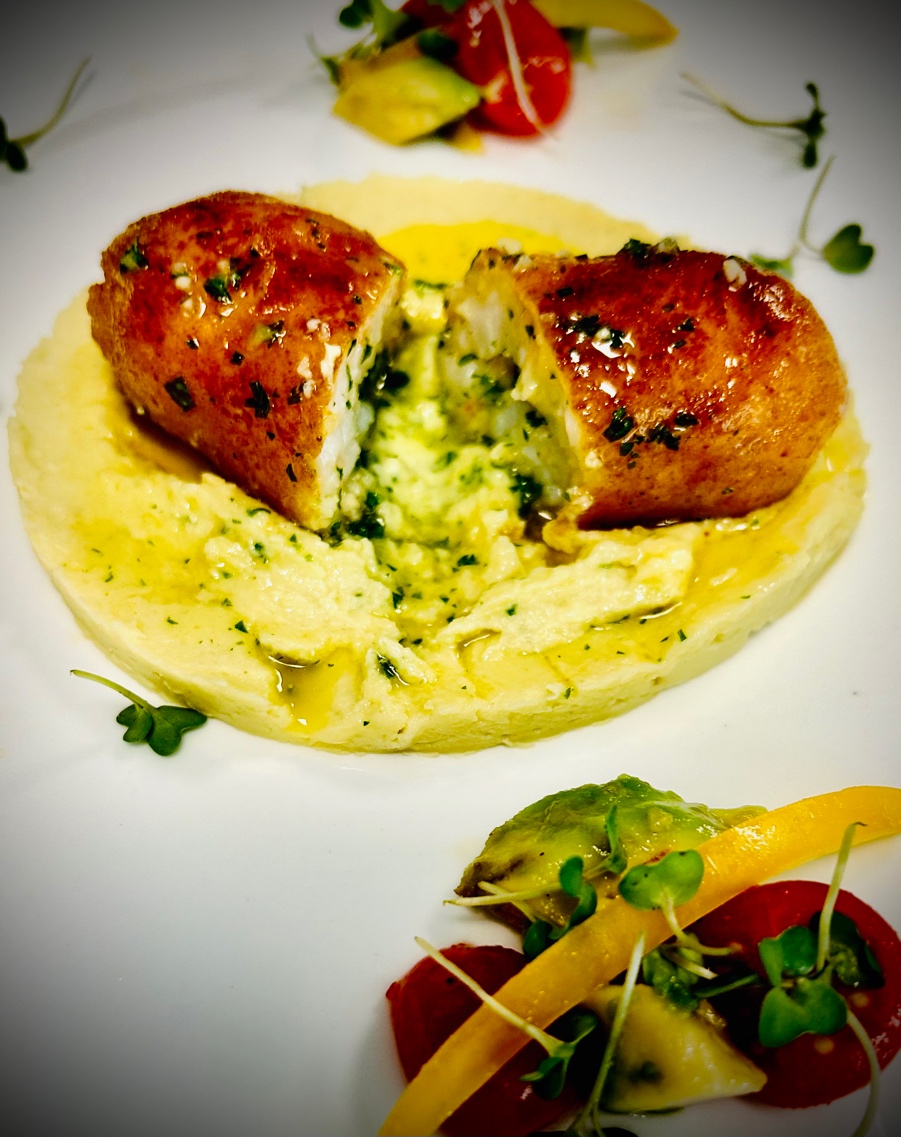
Now once again, not only have I leaned backwards into the colonial era for inspiration, but also specifically developed this recipe for you, and in the bargain, fallen head over heels in love myself … it is simply delicious, to say the least, and frankly …
… the parsley & garlic butter is far better suited to a prawn than it is to chicken. Moreover, as the proverb goes, ‘less is more’, and thus in terms of size & and corresponding restraint, the prawn is far more subtle and thereby the impact greater than its poultry equivalent…and on that note onto the recipe we go.
I have served it with a wonderfully silken cauliflower mousseline i.e. fine puree, and a cherry tomato, avocado & bell pepper salad, but you are free to choose the accompaniments you wish … I will however teach you this wonderful puree technique, which you can also use for carrots, for there really is no better way for making a perfect puree.
Method
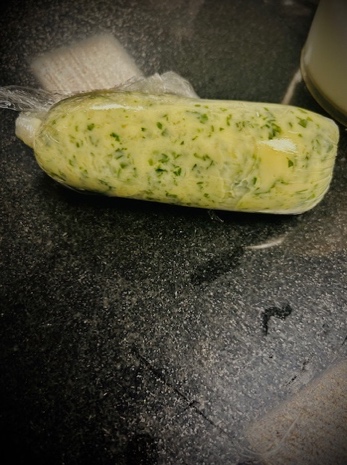
First and foremost, we will make the parsley & garlic butter.
YIELD : 6 portions
- 90g unsalted butter
- 3 teaspoons finely chopped parsley
- 2 teaspoons finely chopped garlic
- ¼ teaspoon salt
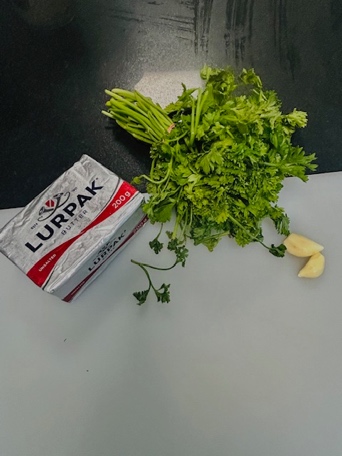
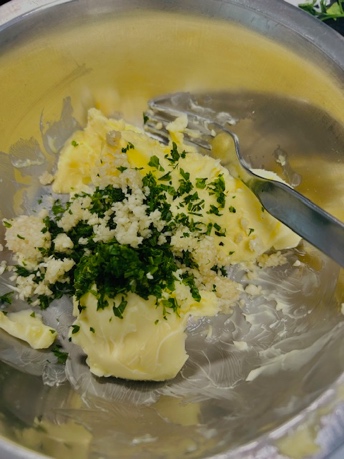
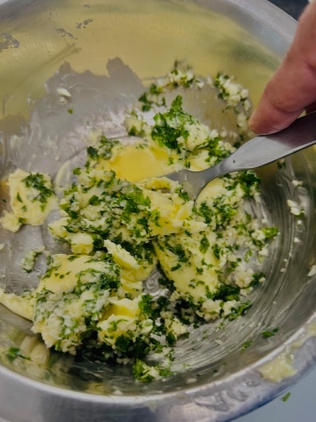
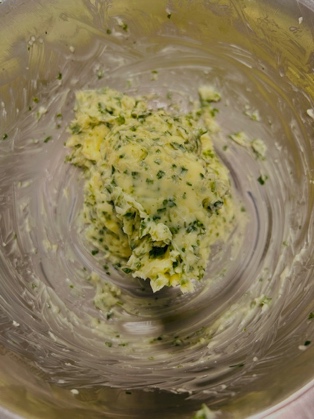
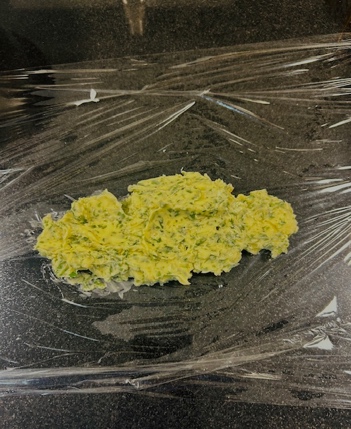
Gather your ingredients (STEP 1), soften the butter at room temperature, wash, dry and finely chop the parsley and then the garlic (STEP 2), and then add to the softened butter in addition to the salt (STEP 3) and mix together thoroughly (STEPS 4 & 5).
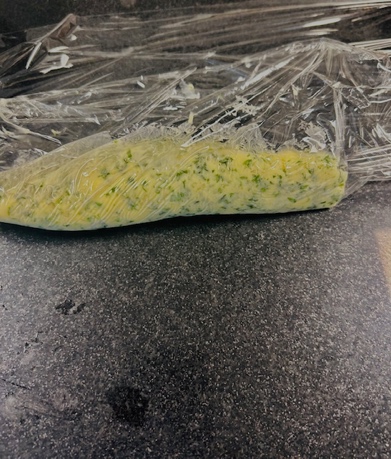
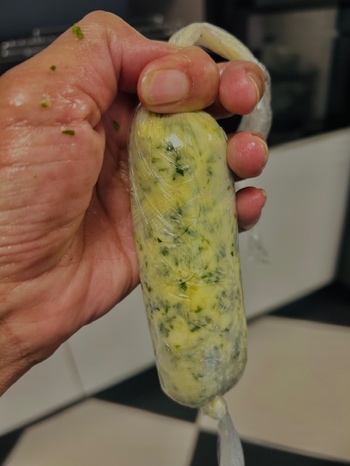
Then place on cling film, roll into a log and twist and knot at each end (STEPS 6 TO 9). Refrigerate to set.

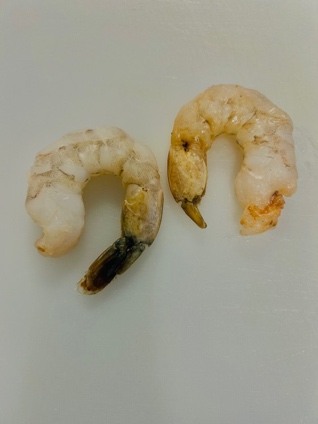
Next up, we shall prepare the prawn that requires two stages, of rolling and refrigerating. I am simply showing you 1 portion that requires the following:
- 2 Jumbo Prawns
- 1 egg
- 3 tablespoons plain flour
- 3 tablespoons bread crumbs (you can use the ordinary home ones, or panko, or bakery bought ones … it really doesn’t matter)
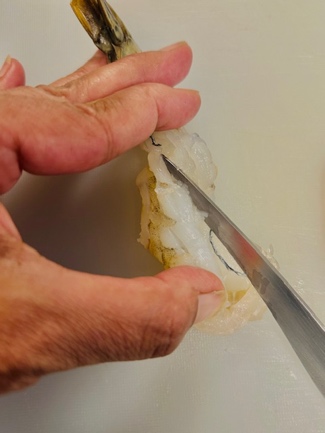
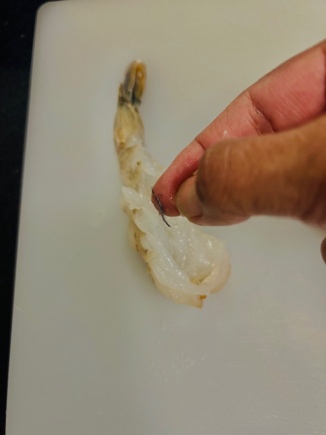
Place your prawns on a chopping board (STEP 1), and then using a sharp knife, slit down the centre of each one (STEP 2), remove the black vein (STEP 3) and open out i.e. butterfly, simply with your thumb and fingers (STEP 4).
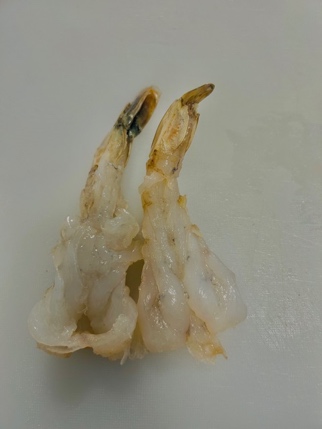
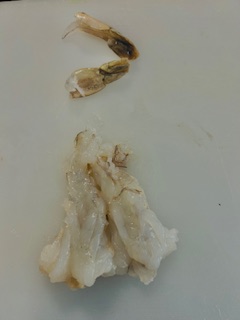
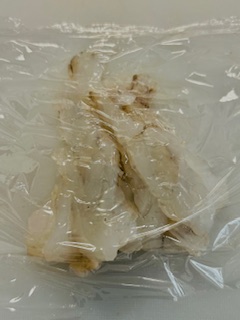
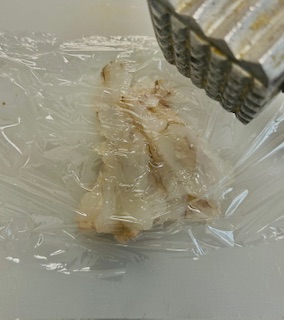
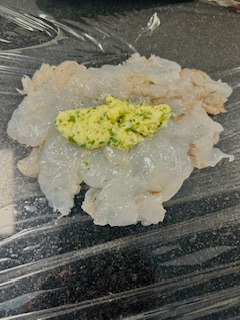
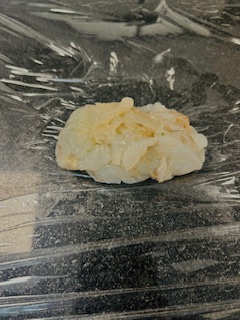
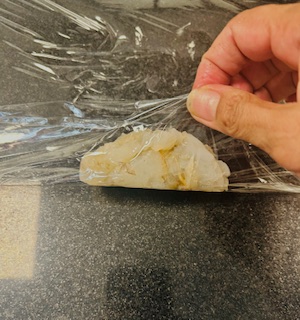
Then pull off the tails (STEP 5), cover the prawns with a small sheet of cling film (STEP 6), and using the bluntest side of a meat pounder, pound lightly until approximately 2mm thick (STEPS 7 & 8), and make sure they are overlapping. Then lift up with a spatula, and place on another sheet of cling film (STEPS 9 & 10). Cut your garlic butter to fit the centre of the prawn cutlet (STEPS 11 & 12) and gather the flesh around (STEP 13); do not worry if it looks untidy, for as you roll and knot the cling film, it will shape the cutlet perfectly (STEPS 14 & 15). Refrigerate for at least an hour, and then proceed to part 2.
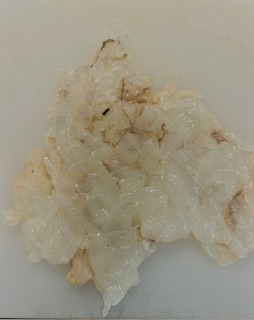
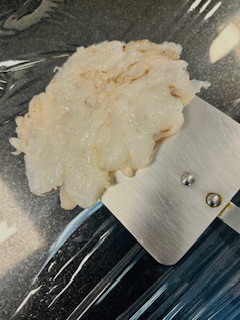
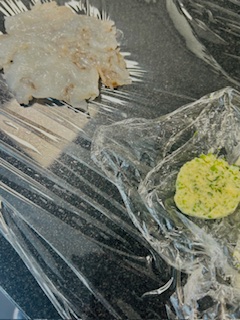
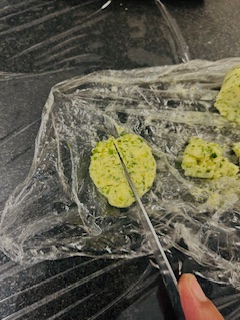
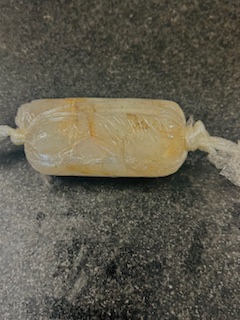
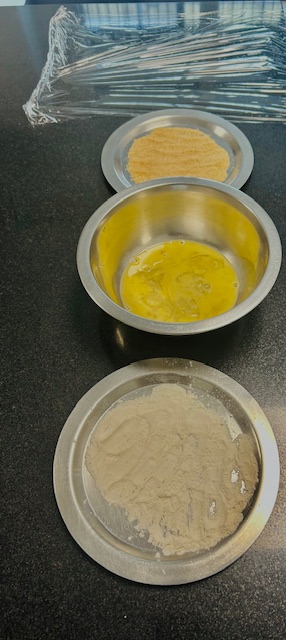
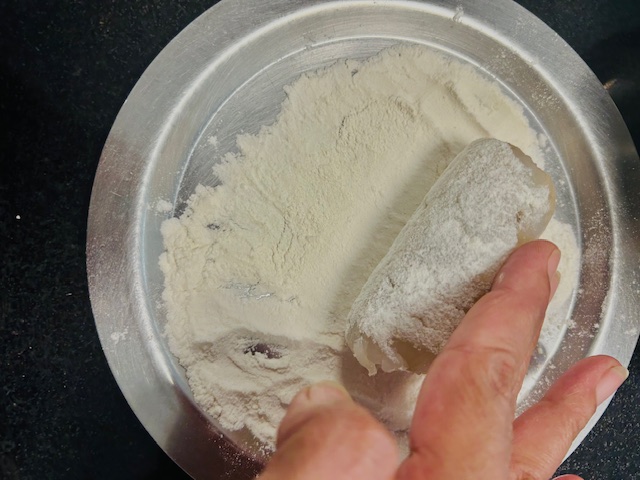
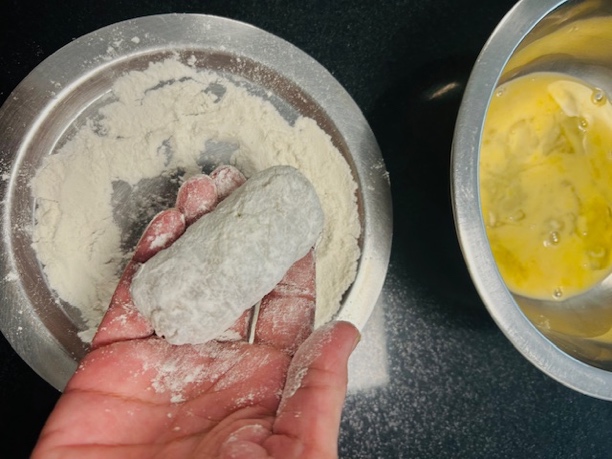
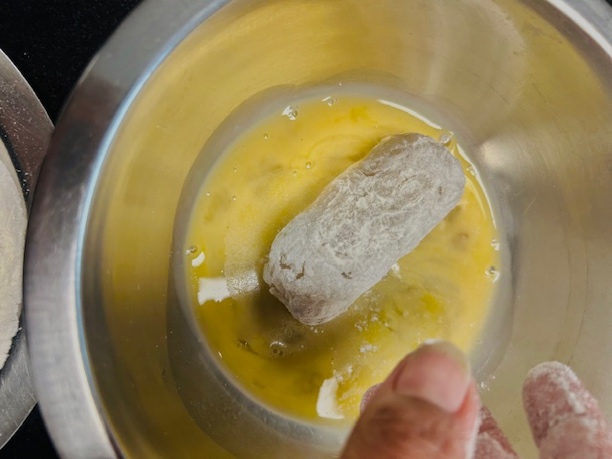
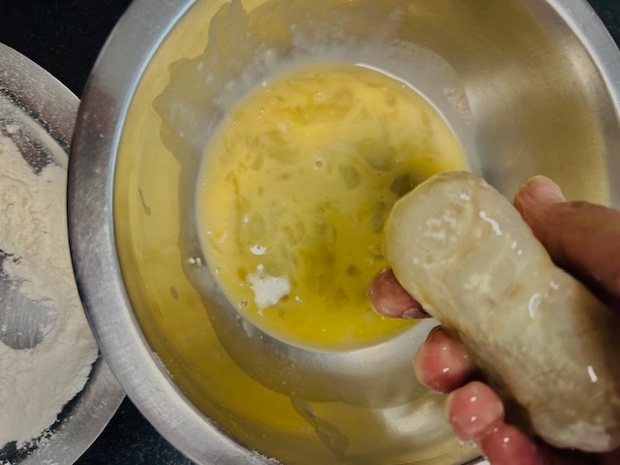
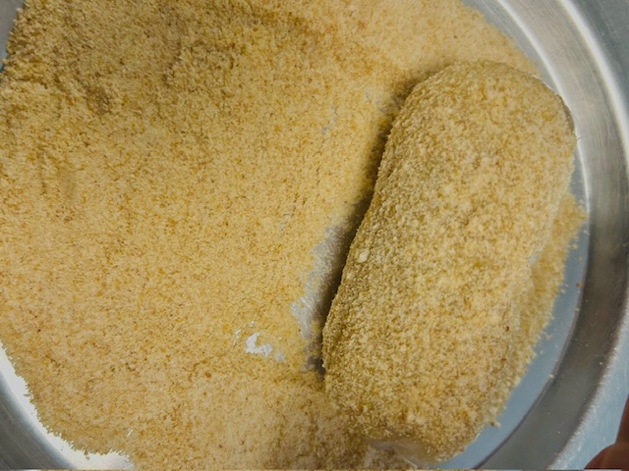
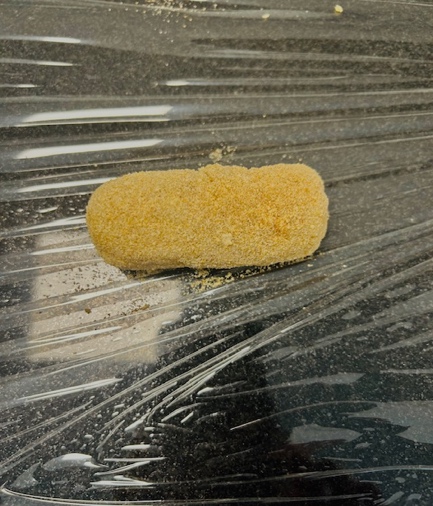
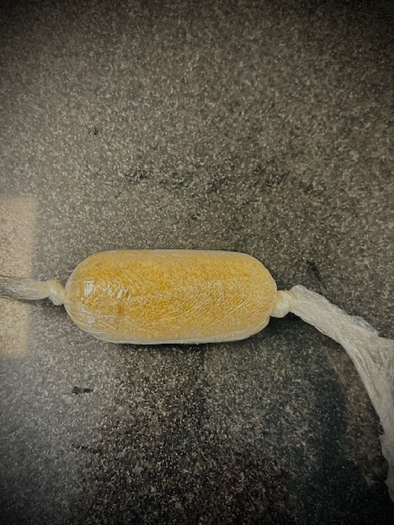
Part two simply involves preparing a line of dishes for the flouring, egg dipping and breadcrumbing of the prawn cutlets in that order, and then re-rolling in cling film (STEPS 1 TO 8). Refrigerate again for at least one hour.
And now onto the cauliflower puree.
YIELD : 2 portions
- 250g cauliflower florets.
- 50ml water
- 45g ordinary salted Amul butter, cut into cubes
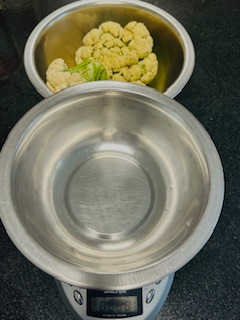
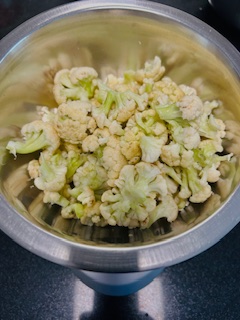
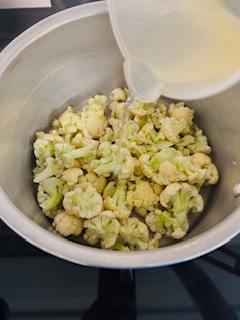
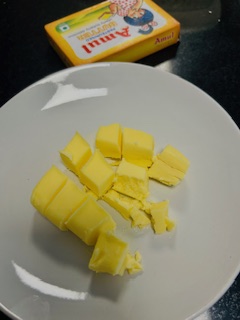
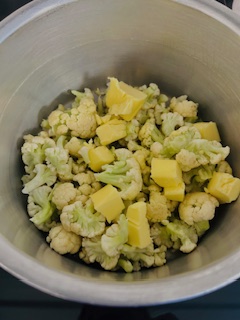
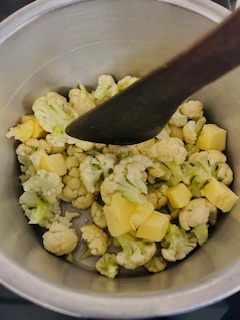
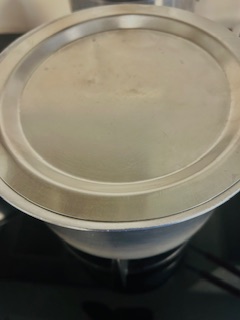
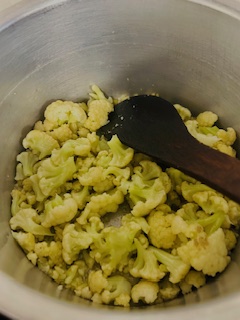
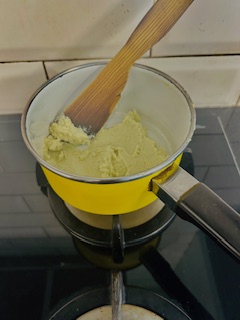
Break off the florets from the stem of the cauliflower, and put into a pot (STEPS 1 & 2), pour in the water (STEP 3), add the butter (STEPS 4 & 5), give it a stir (STEP 6), cover with a lid (STEP 7), place on low heat and let it cook for 15 mins approximately, stirring once or twice in between.
Then remove the lid, give it another stir (STEP 8 – by this stage it will be moist and the cauliflower will have cooked through), and then let it cool.
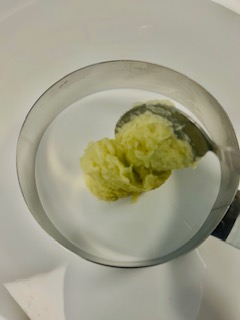
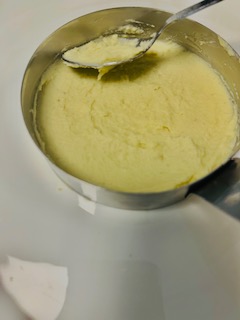
Then put it into a blender and pulse until a fine puree (STEPS 9 & 10). Reserve until use.
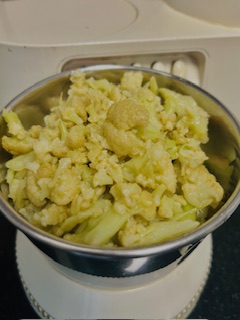
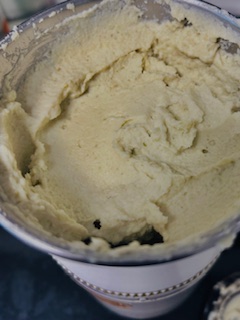
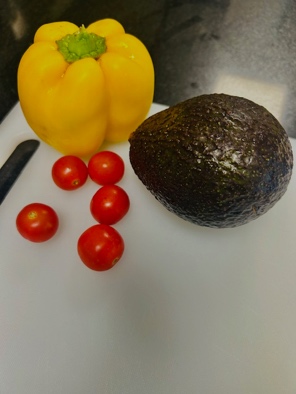
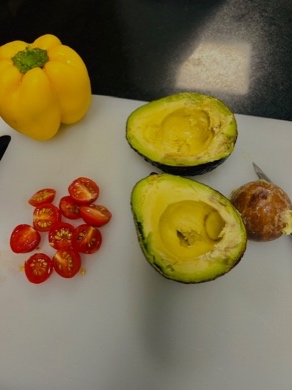
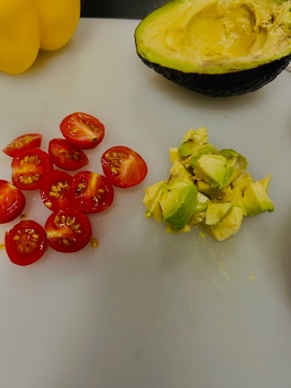
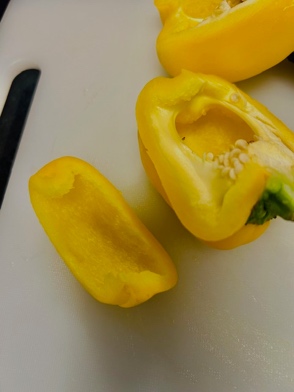
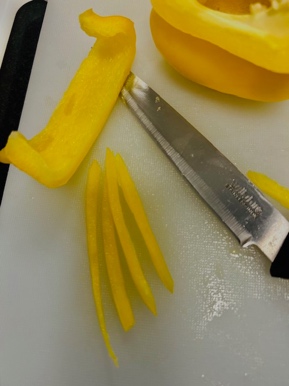
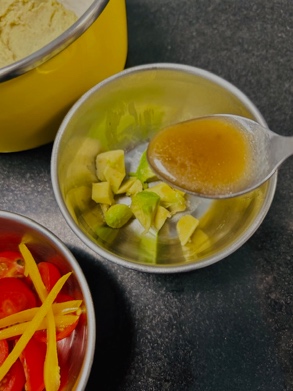
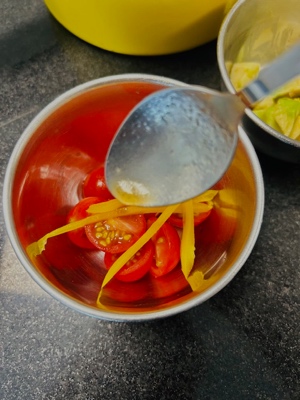
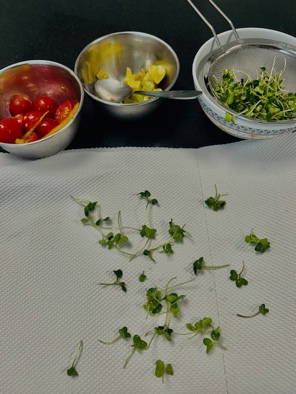
And now, before cooking and assembling the final dish, prepare the little salad accompaniment by washing and slicing your cherry tomatoes, cutting the avocado into cubes, and slicing the bell pepper into thin juliennes as shown (STEPS 1 TO 5). Then wash and dry your microgreens, dress your tomatoes, bell pepper and avocado separately with the vinaigrette I taught in the Hung yoghurt bocconcini recipe (or use a dressing of your choice) and you are now ready to cook & serve (STEPS 6 TO 8).
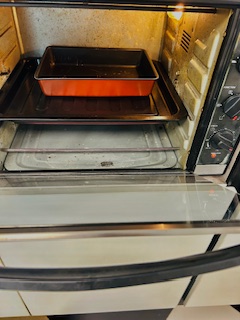
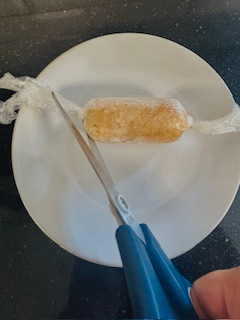
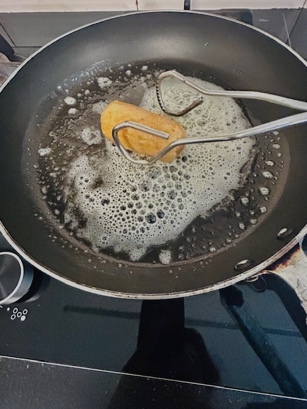
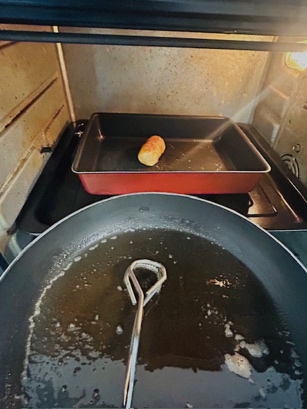
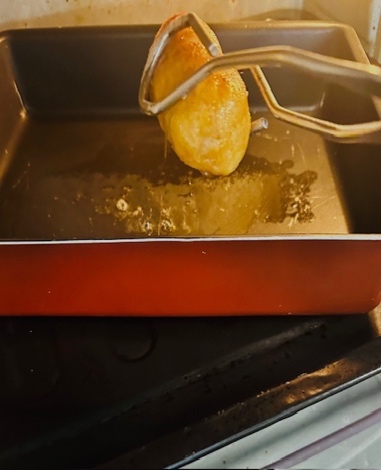
First and foremost, turn your oven on to 180°C (bottom convection heating setting), and place a baking dish on the tray on the second shelf from the bottom (STEP 1). Take your cutlet out of the fridge and unwrap (STEPS 2 & 3), then heat about 20 grams of butter and 20g of oil in a non-stick frying pan until sizzling (STEPS 4 & 5), add your prawn cutlet (STEP 6), keep turning it with tongs until it is golden brown (STEP 7 – this will take approximately 1.5 to two minutes) and then place the cutlet in the baking dish inside the oven for four minutes (STEP 8).
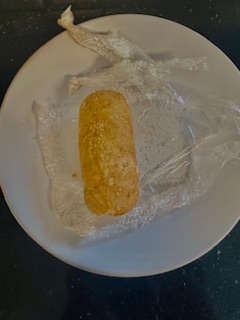
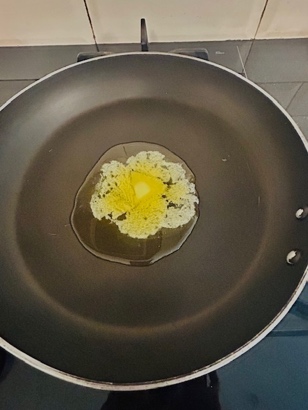
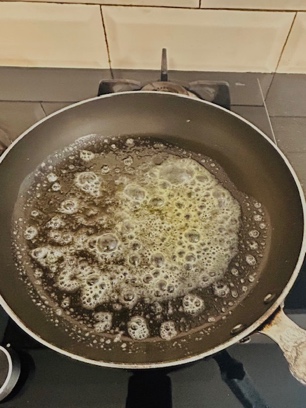
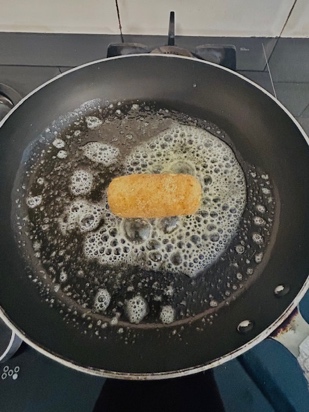
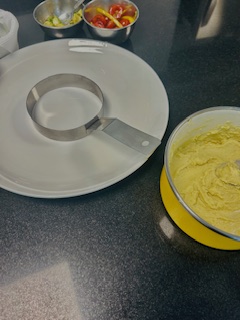
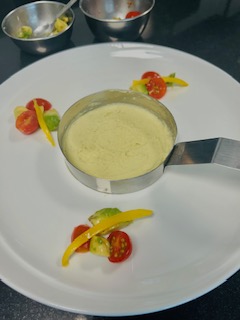
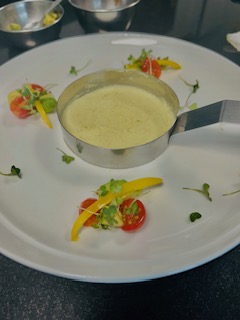
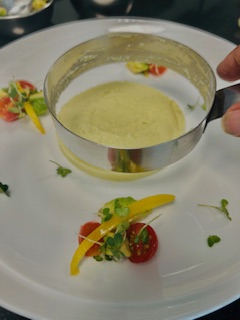
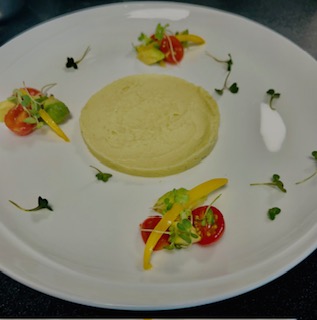
In the meanwhile, re-heat the cauliflower puree (STEP 1), and then using an open ring mould, (preferably of 4 inch diameter), on a main course serving plate, even though it is a starter, place the heated puree inside the mould to form a ½ inch thick circular bed (STEPS 2, 3 & 4), and on three corners, make little pockets of salad as shown in the image (STEPS 5 & 6), then garnish the salad with micro-greens (STEP 7) & finally remove the mould (STEPS 8 & 9).

Take the cutlet out of the oven (STEP 1), place on top of the puree (STEP 2), and immediately top with a thin slice of the butter (STEP 3). As it begins to melt, slice the cutlet, let the butter pool in the centre and serve at once! (FINAL IMAGE)
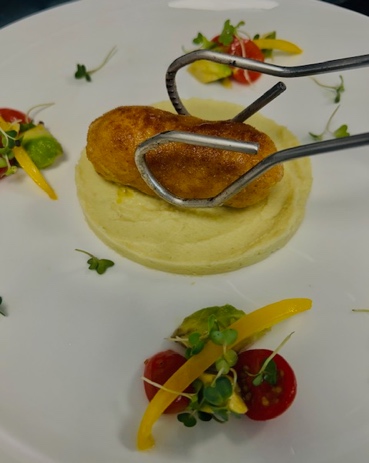
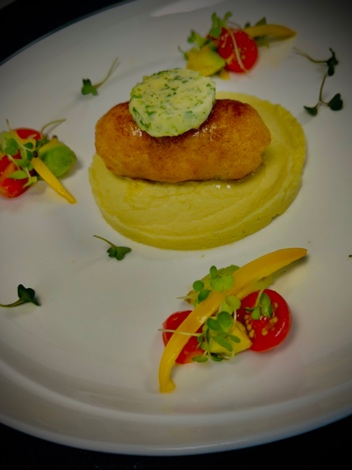
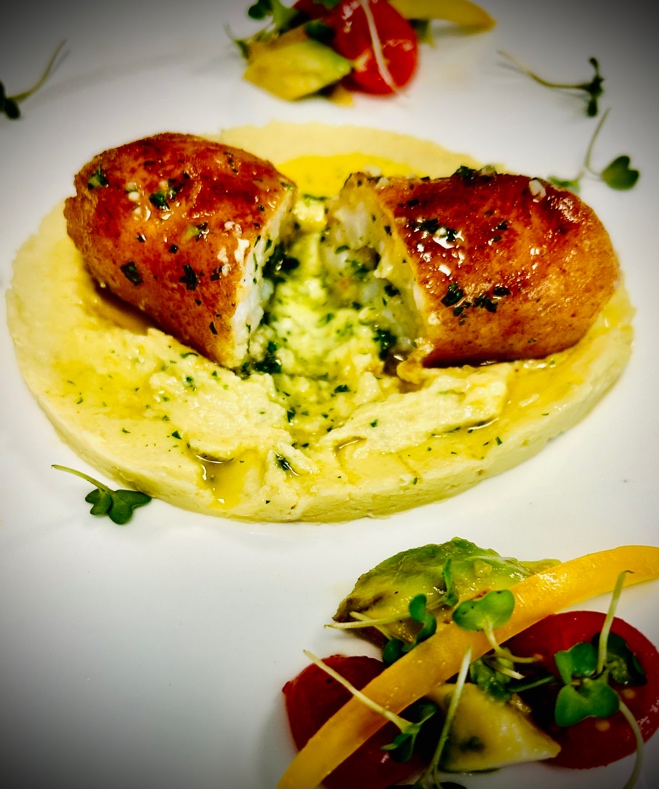
Above: Final Image
