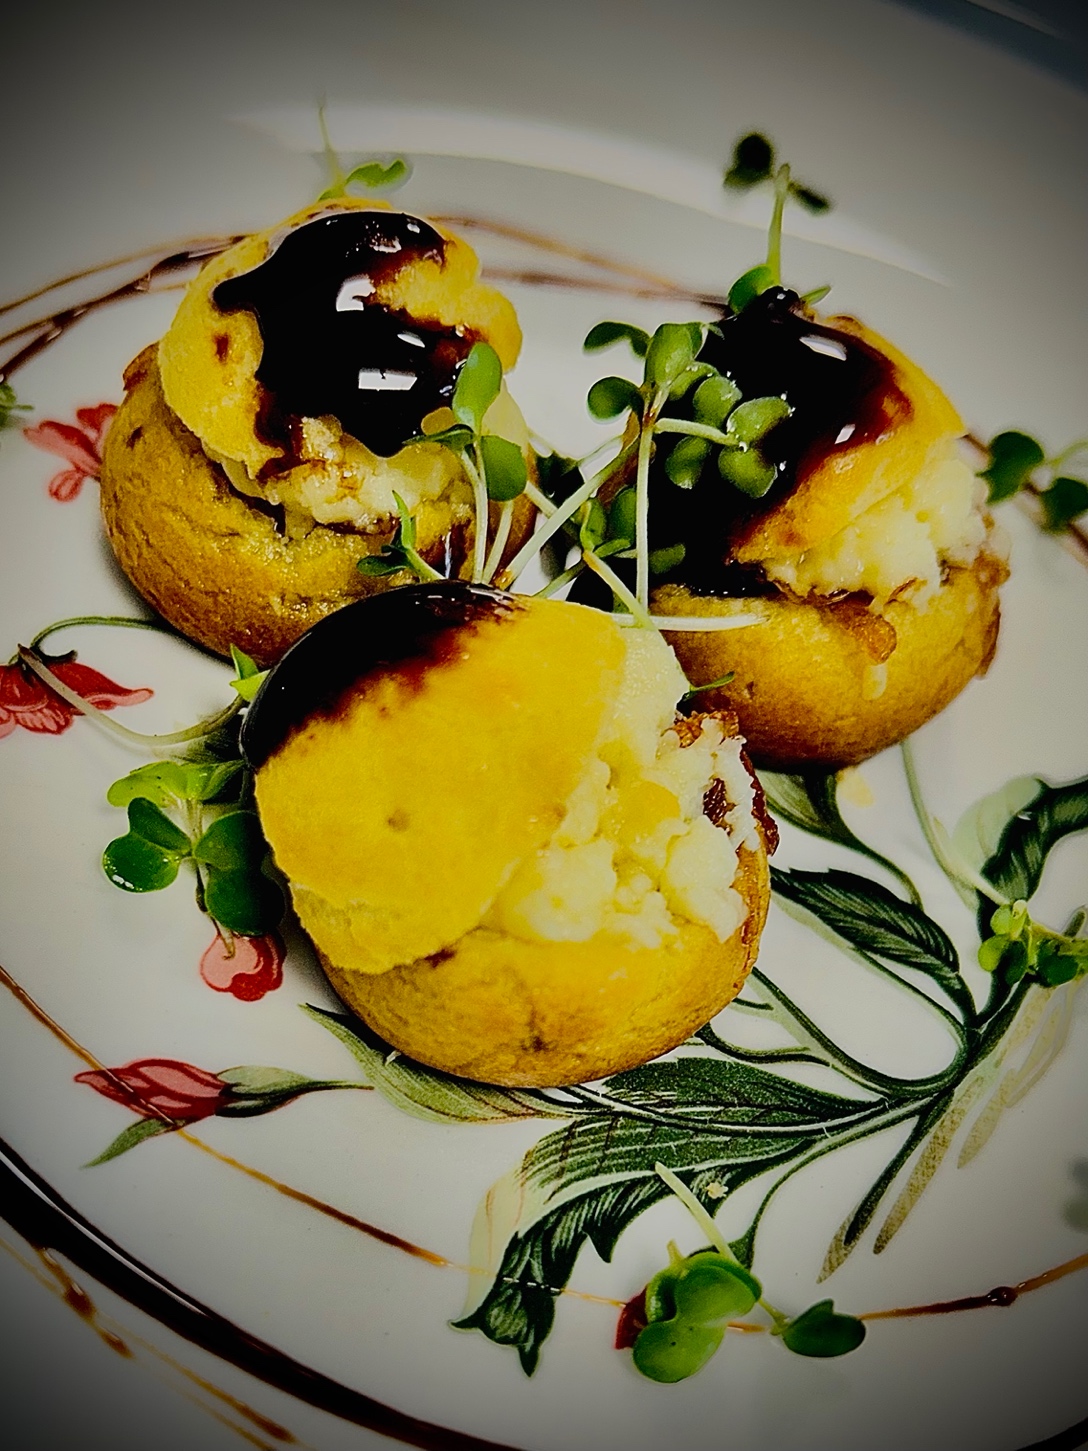
A long time ago, when I briefly worked alongside an Australian Chef at Olive, Diplomat, New Delhi, I had put this dish on the menu and it went down a storm … I had altogether forgotten about it until recently, when at a smart little bistro in Helsinki, Finland, I ordered a comte and truffle gougere …
… and thereafter not only decided to revive my use of this recipe but also teach you how to make it at home.
While a gougere is choux pastry with cheese incorporated into the dough, I am teaching you a simple choux bun without the cheese inside, which leaves you with many other possibilities as far as tastes and fillings are concerned.
For me, the choux is the simplest and most resilient of all pastries, and for those who question or doubt my assertion, here is an absolutely fool-proof recipe, so long as you follow my instructions meticulously.
Ingredients
YIELD: 4 starter portions of 3 choux each, or 12 hors d’oeuvre portions
- 125ml water
- 50g imported unsalted butter
- 75g ordinary white flour
- 125g eggs (** please note that these must be weighed; simply place a bowl on a scale, and gradually break the eggs one at a time into to bowl … you will need approximately 2 ¾ eggs of medium size.)
- 12 tablespoons caramelised onion (recipe below)
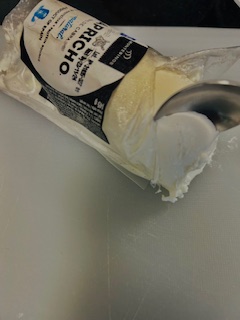
- 12 tablespoons Goats cheese (I have used Brand ‘Capricho De Cabra’, imported from Spain and available at Defence Store, 38, Defence Colony Main Market, New Delhi 110024; but feel free to use any firm goats cheese you like that does melt, not a goat cream cheese that liquefies.)
- 6 teaspoons balsamic vinegar glaze (recipe below)
Method
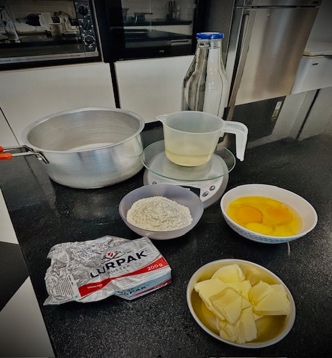
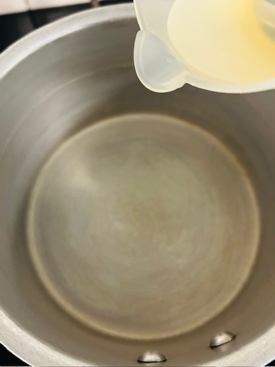
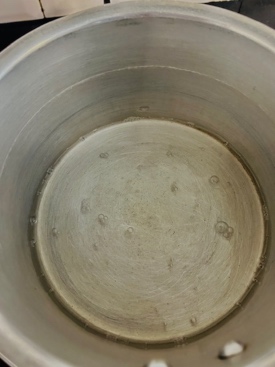
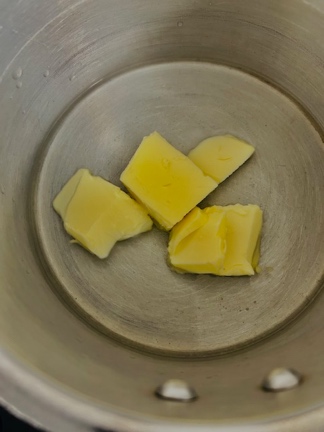
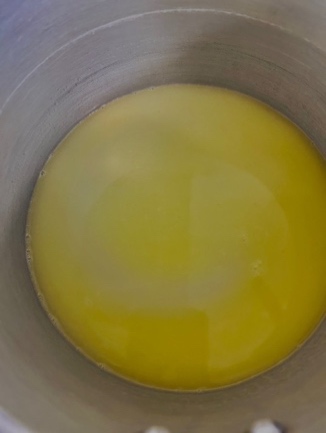
We shall first begin by making the choux pastry for which you will need to gather your ingredients and measure out the butter, flour, water and eggs (STEP 1). Then place the water in a heavy bottom pot (STEPS 2 & 3), add the butter and place over low heat (STEP 4), until the butter has melted (STEP 5). Do not let it simmer, never mind boil.
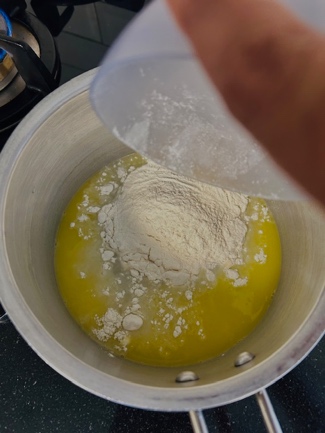
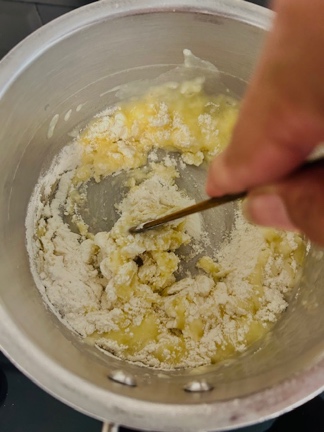
Take the pot off the heat, add the flour (STEP 6), stir in with a wooden spoon (STEP 7), then return to the heat and mix vigorously with the wooden spoon until the pastry has pulled away from the sides of the pot and is forming a natural ball, and continue to stir for another two to three minutes (STEP 8). Then take off the heat and let it cool (STEP 9).
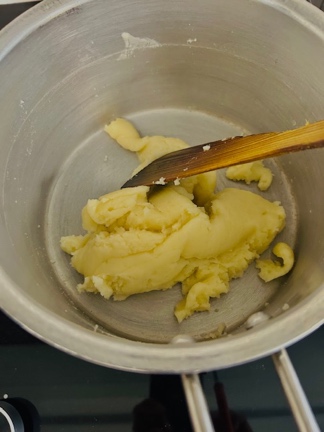
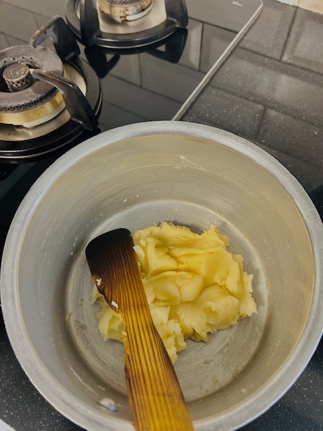
In the meanwhile take the tray out of your oven, pre-heat your oven to 190°C (convection bottom heating setting), and line the oven tray with a silicone mat (please refer to the vol-au-vent recipe). Prepare your disposable piping bag (please refer to the millefeuille recipe for instructions), with a plain round nozzle and set aside.
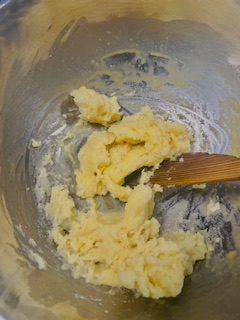
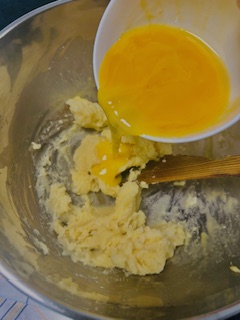
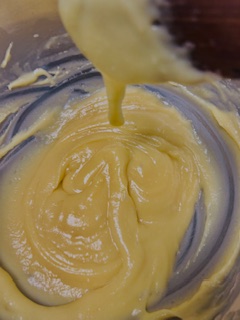
Once the pastry is cool, transfer to an aluminium bowl (STEP 10), gradually add the eggs (in approximately 4 to 5 additions), and mix vigorously with a wooden spoon to homogenise (STEPS 11 TO 14). Eventually you will end up with what is known as dropping consistency (STEP 15).
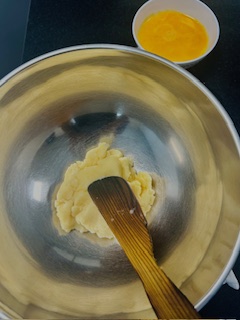
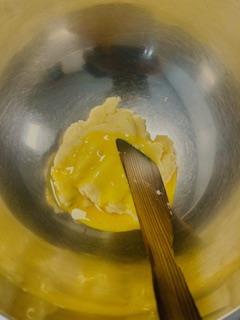

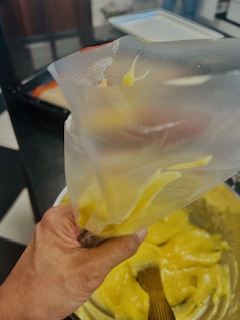
Then fill your piping bag (STEP 16 – once again, please refer to the millefeuille recipe), and pipe by dropping (STEPS 17 & 18 i.e from a height rather than against the mat) mounds of the pastry of a diameter of an INR 10 coin and ½ inch height, leaving a 2 inch space between each. As soon as you finish each mound, flick and lift up your nozzle (STEP 19), or until you have learnt the technique, simply stop pressing on the bag and block the nozzle with a finger. Continue until mixture is finished (STEP 20).
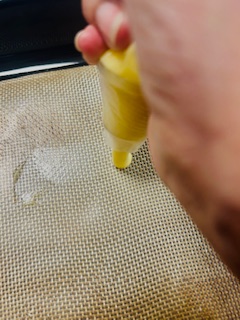
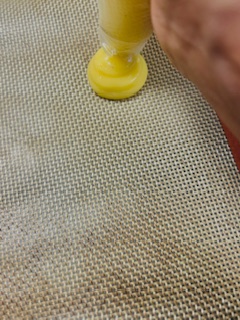
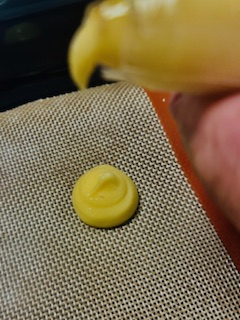
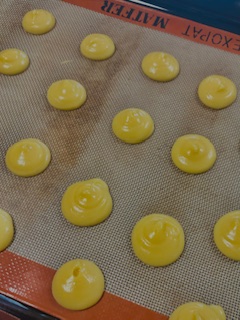
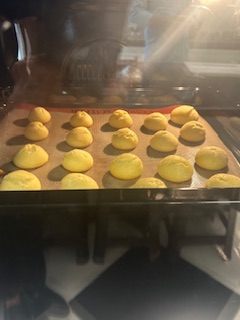
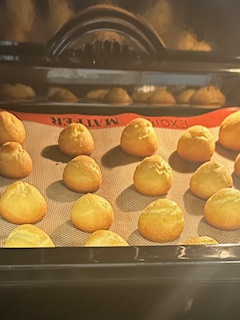
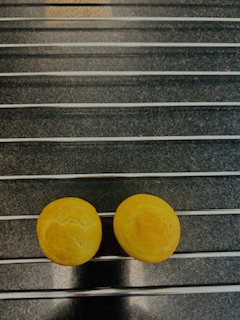
Then place the tray right in the middle of the oven i.e. equidistant from top and bottom, and bake for exactly 25 minutes. Whatever you do, do not open the oven door for the first 15 minutes. Below is what the choux will look like after 15 minutes (STEP 21) and then at the 25minute mark (STEP 22). Then take out of the oven and immediately place on a wire rack to cool (STEP 23).
Now, we will proceed to making the caramelized onions, for which I am using the recipe Chef Ferran Adria – of El Bulli fame – employed for his 21st century Tortilla.
YIELD: 4 starter portions of 3 choux each, or 12 hors d’oeuvre portions
- 250g shallots, julienned (i.e. thinly sliced)
- 85g olive oil (extra virgin or just plain)
- 100ml water
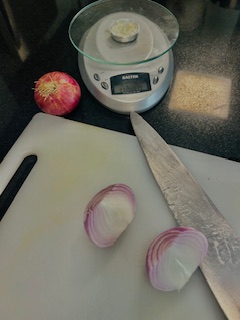
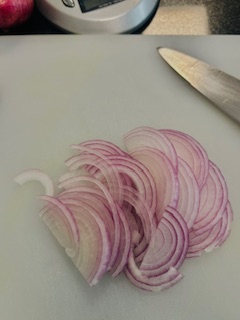
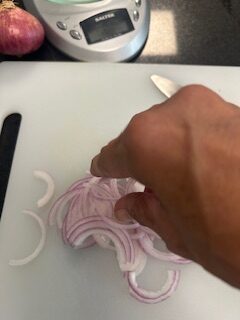
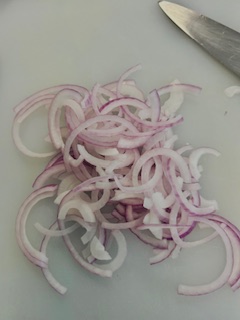
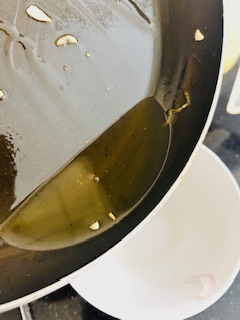
Thinly slice the onions, separate them with your fingers (STEPS 1 TO 4), and then place a non-stick frying pan over low heat (STEP 5), pour in your olive oil (STEP 6), add your onions and stir into the oil (STEP 7 & 8) and let them cook for about 20 minutes, stirring continuously, until they are soft and beginning to brown (STEP 9).
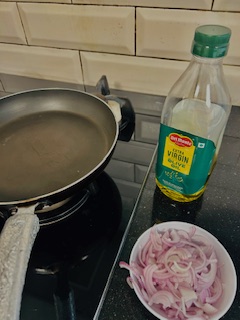
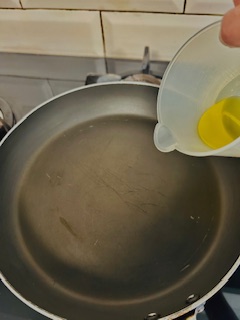
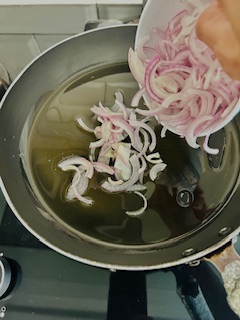
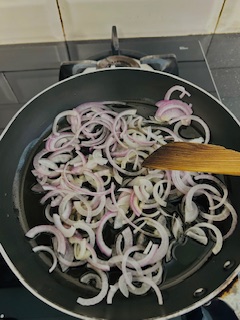
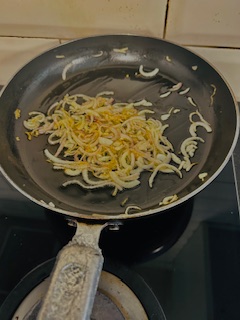
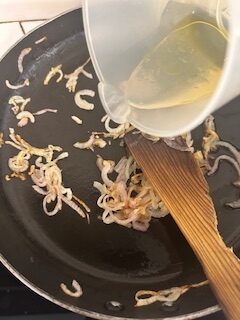
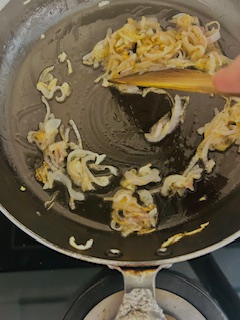
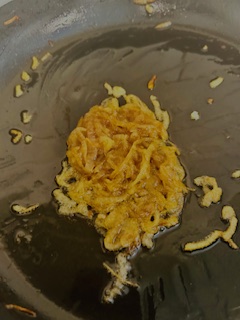
Then drain the excess oil (STEP 10), return pan to low heat and gradually add water (in 4 additions) letting the onions absorb the water between each addition (STEPS 11 & 12) and thereby not only stew but also caramelize further (STEP 13). Set aside.
And now the final component before we finish the dish, and that is the reduced balsamic vinegar glaze.
YIELD : ¼ CUP
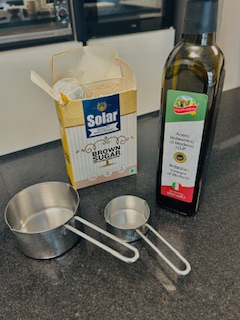
- 1 cup balsamic vinegar
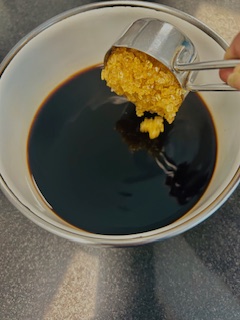
- ¼ cup brown sugar
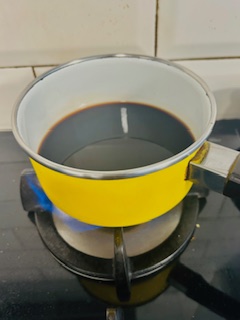
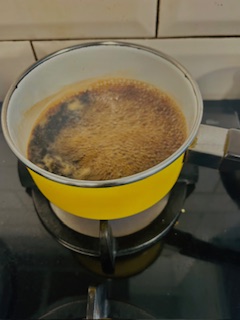
Very simply put your balsamic vinegar and sugar into a small pot over high heat (STEPS 1, 2 & 3). Bring to a boil (STEP 4), then lower heat and let it simmer for 35 to 40 mins (STEPS 5 & 6). Then pour into a container and set aside until use (STEP 7).
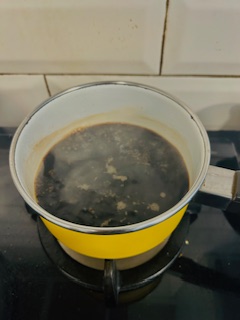
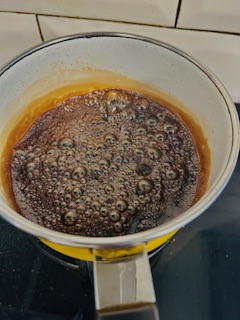
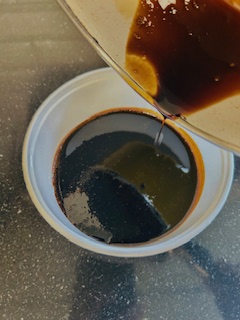
And now onto finishing the dish. The first step is to slice the top of each choux bun, so that you have a cap and hollow centre to fill (STEPS 1 TO 4). Then preheat your oven to 180°C (bottom heating convection setting) and place your choux buns in a baking dish and into the oven for a few minutes to refresh (STEPS 5 TO 6).
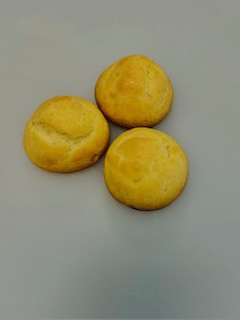
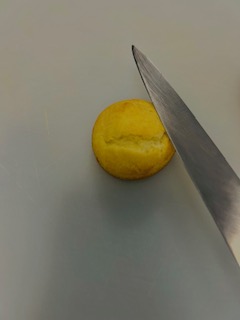
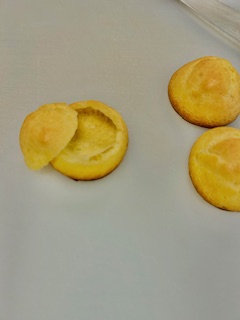
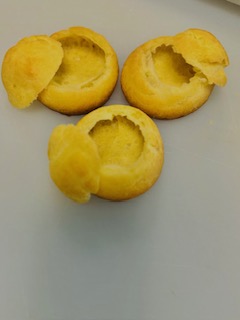
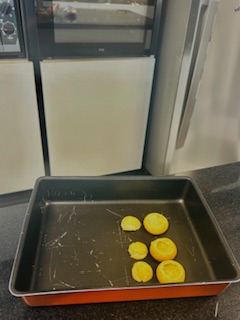
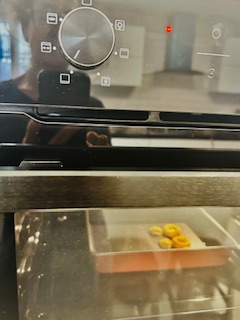
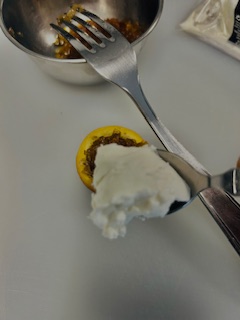
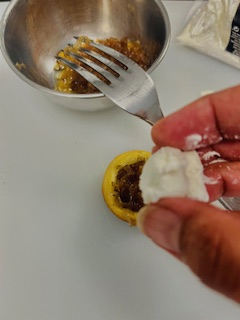
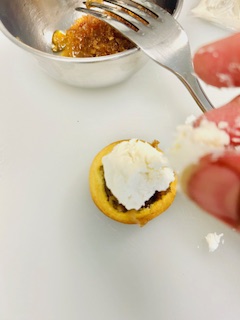
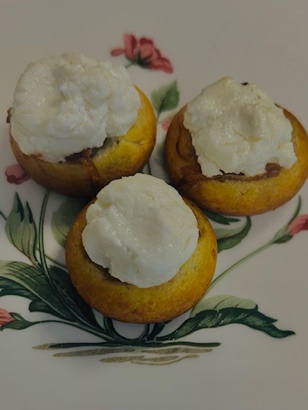
Then take them out, lightly reheat the caramelized onion, and fill each hollow with it (STEPS 1 TO 3), and top with the goat’s cheese; you can cut off the log using a spoon and then roughly shape to fit on top of the onion (STEPS 4 TO 7).
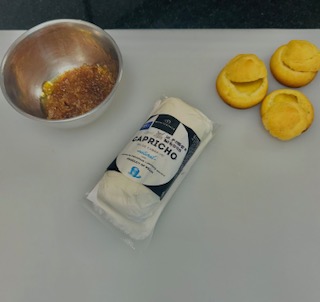
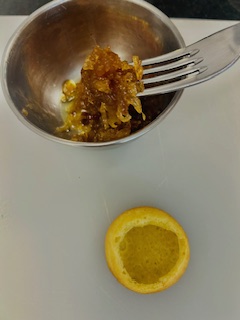
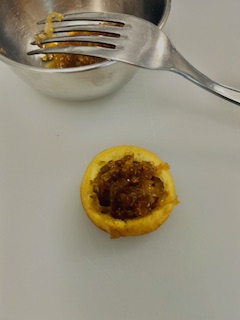
Then turn the top grill of your oven on (STEP 8), place the filled choux (not the caps) back into the oven and let the cheese heat and begin to melt down, 3 to 5 mins approximately (STEP 9).

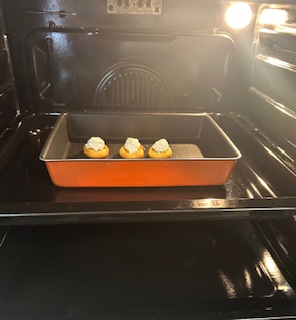
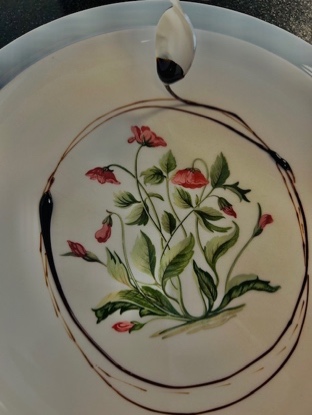
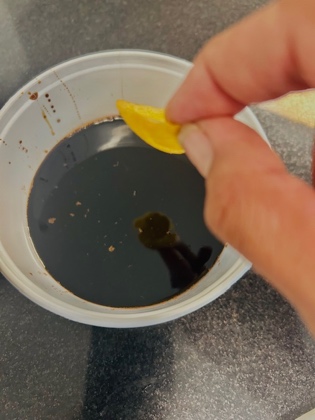
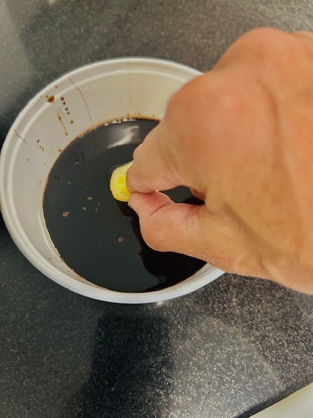
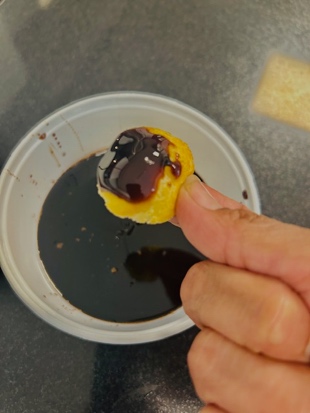
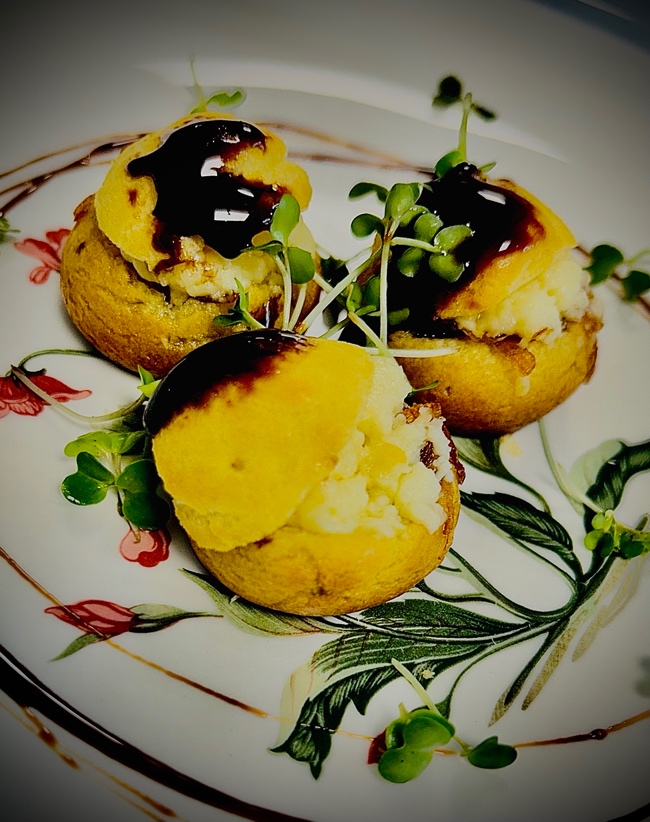
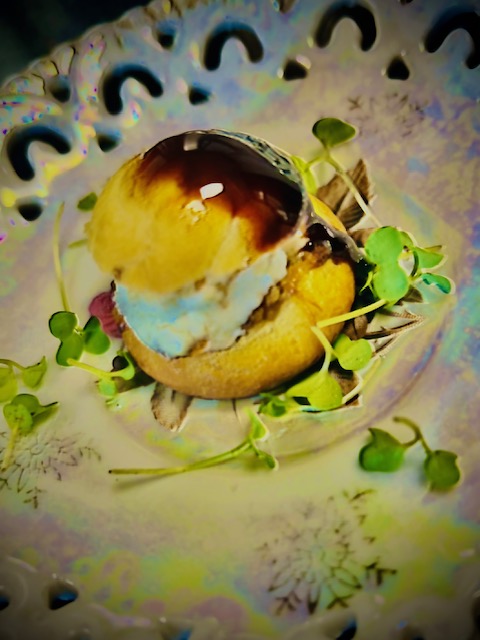
In the meanwhile, drizzle the balsamic glaze around your serving plate (STEP 10), then flip the choux caps (STEP 11), dip them in the balsamic glaze (STEPS 12 & 13) and as soon as you take your choux buns out and onto your serving plate (STEP 14), place the caps on top at an angle, sprinkle with washed and dried micro-greens, and abracadabra, there you have a sensational starter, (FINAL IMAGE TOP) or if you want to serve these as an hors d’oeuvre, then onto a cocktail plate goes one lone ranger per person (FINAL IMAGE BOTTOM).


Above: Final Images
